Installing new handlebar grips is one of the simplest ways to refresh your bicycle and improve your riding comfort. But if you’ve never done it before, the process can feel confusing. Grips that are too loose can be dangerous, while ones installed incorrectly may twist or wear out fast.
Luckily, with the right steps and a little patience, you can install bike handlebar grips safely and securely—even if you’re a beginner.
This guide will walk you through everything you need to know, from choosing the right grip type to handling stubborn old grips. You’ll also find tips to avoid common mistakes and keep your hands comfortable on every ride. Whether you ride a mountain bike, a road bike, or a city cruiser, this article has you covered.
Why Handlebar Grips Matter
Handlebar grips are more than just accessories. They provide traction, absorb vibration, and protect your hands from fatigue on long rides. Good grips help you control the bike in wet or rough conditions. Worn or poorly installed grips can slip or twist, causing accidents.
Many cyclists don’t realize how much difference the right grips can make. For example, some studies show that ergonomic grips can reduce wrist pain by up to 30%. Investing a little time in proper installation pays off every time you ride.
Types Of Handlebar Grips
Before you start, it’s important to know the type of grips you have or want to install. Not all grips fit every handlebar, and each type has its own installation method.
| Grip Type | Main Features | Installation |
|---|---|---|
| Slide-On Grips | Rubber, foam, or silicone; stretch to fit | Requires friction, sometimes adhesive |
| Lock-On Grips | Hard core, locking rings on ends | Secured with small bolts |
| Foam Grips | Lightweight, soft, often for road bikes | Slide on, may need lubrication |
Non-obvious insight: Not all handlebars have the same diameter. Most mountain bikes use a 22.2mm grip area, but some road bikes are different. Always check before buying grips.
Credit: everestkitchennc.com
Tools And Materials You’ll Need
Gather the right tools before you begin. This saves time and prevents damage to your bike or new grips.
- New handlebar grips (correct size)
- Rubbing alcohol or grip-specific adhesive
- Flathead screwdriver (for old grips)
- Utility knife (only if removing old grips you won’t reuse)
- Air compressor (optional, for tight grips)
- Allen wrench (for lock-on grips)
- Clean rag or paper towels
- Soap and water (optional for extra slip)
Removing Old Grips
Taking off the old grips is sometimes the hardest part, especially if they’re stuck. Here’s how to do it without harming your handlebars.
For Slide-on Or Foam Grips
- Insert a thin screwdriver between the grip and bar.
- Gently wiggle to create a gap.
- Spray a small amount of rubbing alcohol, water, or soapy water into the gap.
- Twist and pull the grip while continuing to add fluid as needed.
- If grips won’t budge, carefully cut them off with a sharp utility knife (cut away from your body).
For Lock-on Grips
- Locate the small bolts at the end(s) of the grip.
- Use an Allen wrench to loosen, but not remove, the bolts.
- Slide the grip off.
Pro tip: Avoid using oils or WD-40 to remove grips unless you plan to clean the bars thoroughly afterwards, as residue can make new grips slip.
Preparing The Handlebar
Clean handlebars are key to a secure grip. Any dirt, old adhesive, or oil can weaken the bond and cause slippage.
- Wipe down the bar area thoroughly with rubbing alcohol.
- Check for rough spots or old tape. Remove all residue.
- Let the bar dry completely before installing new grips.
Common mistake: Skipping this cleaning step is a leading cause of grips twisting during rides.
Installing Slide-on And Foam Grips
These grips depend on friction to stay in place. Here’s how to install them easily and securely.
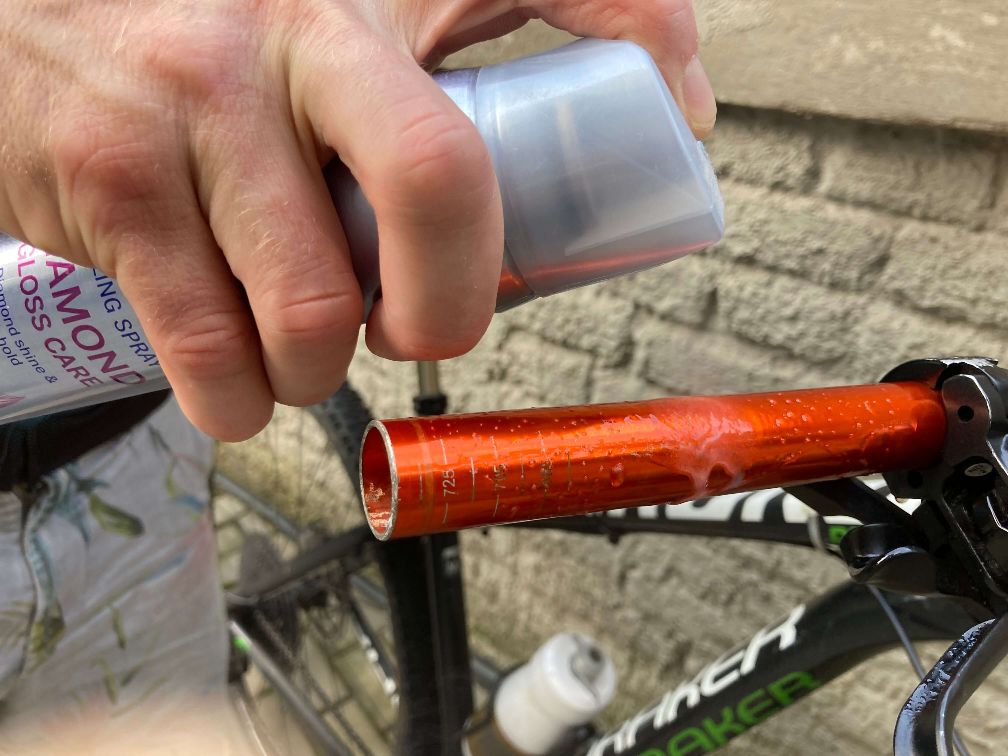
- Lubricate the bar: Apply a small amount of rubbing alcohol or soapy water to the handlebar (not the inside of the grip). Rubbing alcohol works best because it evaporates, leaving the grip tight.
- Start the grip: Place the grip’s open end against the bar and push firmly.
- Work it on: Twist and push in small movements. If it’s too tight, add a bit more rubbing alcohol.
- Align: Make sure any logos or ergonomic shapes are facing the right way.
- Wait: Allow at least 30 minutes for the alcohol to dry before riding.
Non-obvious insight: For really stubborn grips, use an air compressor. Point the nozzle under the edge of the grip and gently blow air while pushing—it creates a cushion that slides the grip on easily.
Installing Lock-on Grips
Lock-on grips are popular for mountain bikes because they stay put even in rough conditions. They use one or two metal rings that clamp to the bar.
- Slide the grip onto the handlebar: Align the grip so the locking ring(s) sit flush at the bar end.
- Adjust position: Set the grip angle so logos or ergonomic surfaces match your hand position.
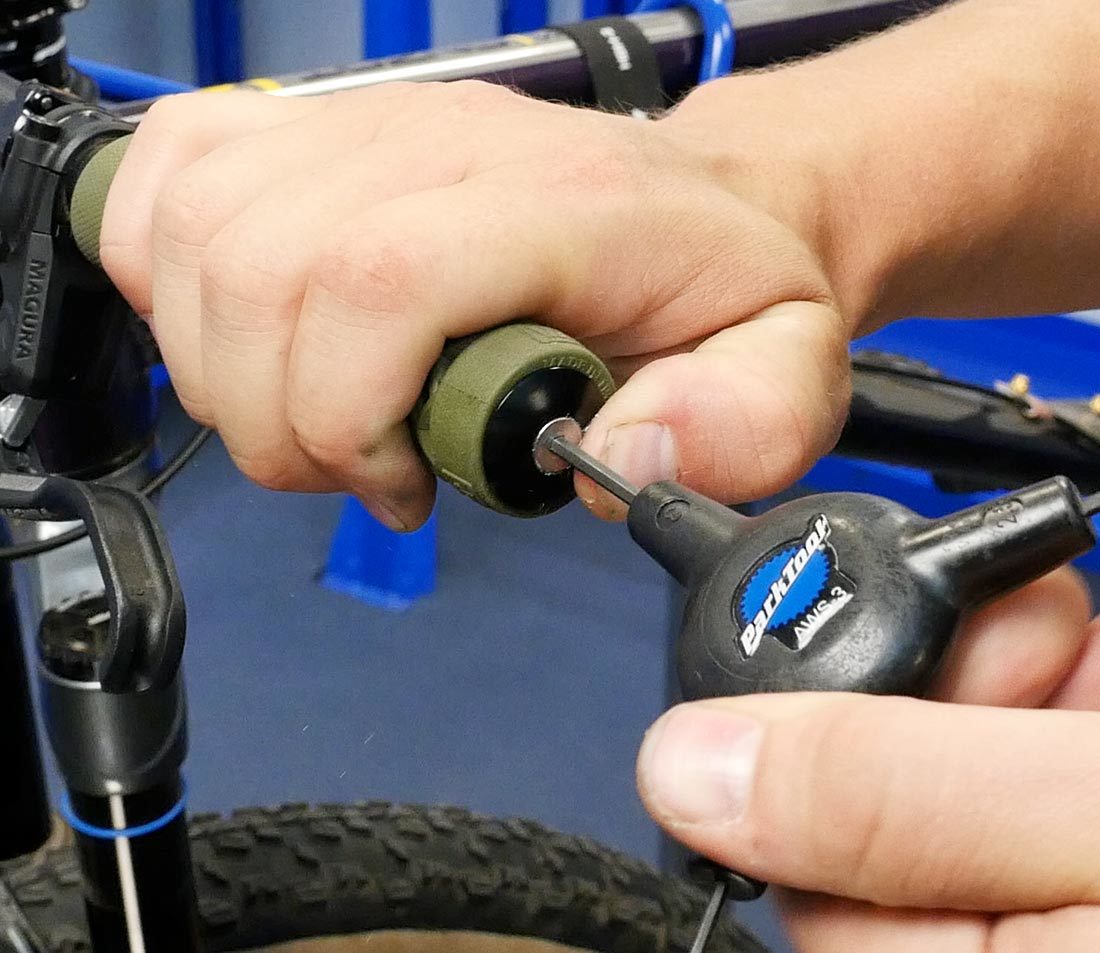
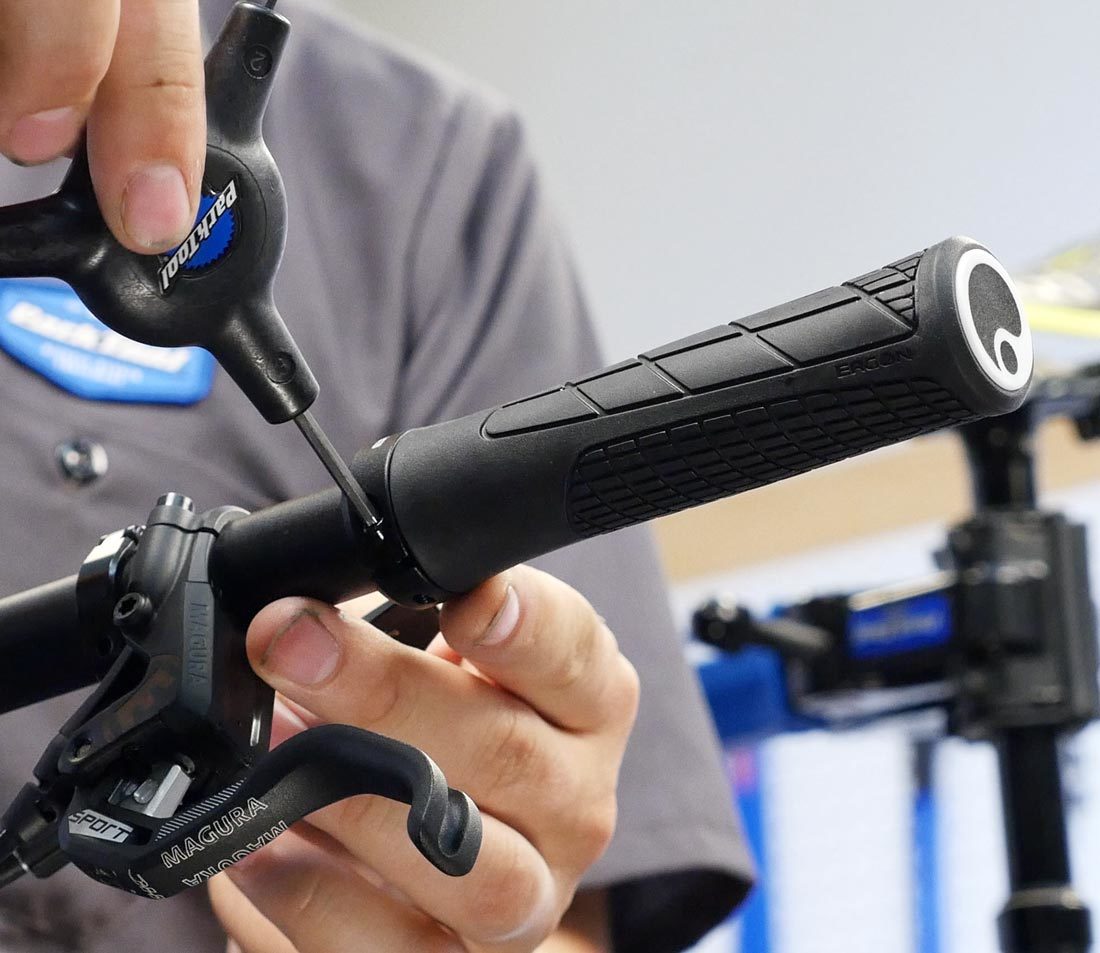
- Tighten bolts: Use an Allen wrench to tighten the locking bolts. Do not overtighten—just snug is enough.
- Check security: Give the grip a firm twist. If it moves, tighten slightly more.
Practical tip: Some lock-on grips come with bar end plugs. Insert these for extra safety and a finished look.
Special Case: Installing Grips On Carbon Handlebars
Carbon handlebars are sensitive to pressure. If you use too much force or the wrong adhesive, you might crack or damage the bar.
- Always check the manufacturer’s recommendations.
- Avoid strong solvents or glues.
- Use only approved friction paste or rubbing alcohol.
- Tighten lock-on bolts to the specified torque (usually 2–3 Nm).
Troubleshooting Common Problems
Even when you follow every step, you might run into issues. Here’s how to solve the most common problems:
Grips Won’t Slide On
- Check if the bar is perfectly clean.
- Warm up rubber grips in hot water for a few minutes to soften.
- Try a tiny bit more rubbing alcohol.
- Use an air compressor if available.
Grips Keep Spinning
- Remove and clean both bar and grip interior.
- Never use too much lubricant—just enough to help slide.
- For foam grips, let them dry overnight.
- For lock-on grips, check bolt tightness.
Grip Is Too Long Or Short
- Most grips are made for standard bar width. If your grip is too long, trim carefully with a sharp knife (for foam/rubber only, not lock-on). If too short, consider moving shifters or brakes slightly to fit.
Example: If you’ve installed ergonomic grips and your shifter is in the way, loosen the shifter clamp and slide it inward a few millimeters.
Comparing Different Grip Materials
Choosing the right grip material can make a big difference in comfort and control. Here’s a comparison of common grip materials:
| Material | Comfort | Durability | Grip (Wet) |
|---|---|---|---|
| Rubber | Good | High | Moderate |
| Foam | Excellent | Medium | Poor |
| Silicone | Very Good | High | Good |
| Cork | Soft | Medium | Poor |
Credit: www.parktool.com
Safety And Maintenance Tips
Installing the grips is not the end of the job. Regular checks and proper maintenance can prevent sudden slips.
- Check grips for movement or wear every few weeks.
- Replace grips if they show cracks, tears, or heavy wear.
- Avoid storing your bike in direct sunlight for long periods—UV rays break down grip material.
- Clean your grips with mild soap and water, not harsh chemicals.
Extra advice: If you ride in wet or muddy conditions, consider lock-on or silicone grips for the best performance.
When To Replace Your Handlebar Grips
Most grips last between 1,000 and 3,000 miles, depending on riding style and conditions. Replace grips if:
- They feel sticky or loose, even after cleaning.
- You see visible cracks or chunks missing.
- The grip pattern is worn smooth.
- You feel more vibration or discomfort.
Statistic: A survey of mountain bikers found that 60% replace grips at least once a year for comfort and safety.
Example: Step-by-step Grip Installation
Let’s say you’re installing a new pair of slide-on rubber grips on a mountain bike:
- Remove the old grips using a flathead screwdriver and rubbing alcohol.
- Clean the handlebar with alcohol and a rag.
- Apply a small amount of rubbing alcohol to the bar.
- Push and twist the new grip onto the bar, aligning it correctly.
- Let it sit for 30 minutes before riding.
This quick process makes a huge difference in comfort and control.
Comparing Diy Vs. Bike Shop Installation
Some riders wonder if they should install grips themselves or pay a shop. Here’s a quick look at the pros and cons:
| DIY Installation | Bike Shop Installation |
|---|---|
| Cheaper, learn new skill, flexible timing | Professional results, less risk of damage |
| May require tools, risk of mistakes | Costs $10–$30, need to visit shop |
Tip: Most cyclists find that grip installation is an easy DIY job, but if you have carbon bars or expensive grips, a shop visit may be worth the extra safety.
Credit: www.nicfaisalabad.com
Frequently Asked Questions
What Size Handlebar Grips Do I Need?
Most flat handlebars use a 22.2mm diameter grip. Measure your bar or check manufacturer specs before buying. Length can vary—longer grips for larger hands or more comfort, shorter for racing.
Can I Use Hairspray Or Soap To Install Grips?
Yes, hairspray can help slide grips on and acts as a light adhesive when it dries. Soap and water work too, but always let the grip dry completely before riding.
How Do I Stop My Grips From Slipping In The Rain?
Choose lock-on grips or silicone grips for wet conditions. Make sure the bar and grip are clean and dry before installation. Avoid using oil-based products that can cause slipping.
Are Ergonomic Grips Better?
Ergonomic grips support your palms and can reduce numbness or pain, especially on longer rides. They may not suit aggressive riding styles, but many commuters and tourers prefer them.
Where Can I Learn More About Bike Grip Types?
For more in-depth information, visit the Bicycle Handlebar Wikipedia page for detailed explanations of grip types and handlebar standards.
Installing bike handlebar grips is a simple project that brings big benefits. With the right tools and careful steps, you can improve comfort, safety, and style on your next ride. Take your time, follow the tips above, and enjoy the confidence of grips that fit perfectly and stay secure, mile after mile.