Changing disc brake pads on your bike can feel challenging the first time. But with the right guidance, you can do it at home—saving money and understanding your bike better. Good disc brakes are essential for safe, reliable stopping power.
Worn-out pads can reduce braking performance and even damage your rotors. This guide explains each step clearly, with tips and examples, so you can confidently change your bike’s disc brake pads—even if you’re new to bike maintenance.
When To Change Your Disc Brake Pads
Knowing when to replace your disc brake pads matters as much as knowing how. Most riders wait for a clear sign, but sometimes, waiting too long causes extra wear to other parts, like the rotors.
Signs Your Pads Need Replacing
- Squealing or grinding noise when braking
- Less braking power—you have to pull the lever farther
- Visible wear—pads are less than 1.5 mm thick
- Shiny or glazed pad surface
- Deep grooves in the pad material
A simple check: If you see more metal than pad material, it’s time to change. Don’t wait for the brakes to feel unsafe.
How Long Do Pads Last?
The lifespan depends on your riding style, terrain, and weather. On average, organic pads last 500-700 km, while sintered metal pads can last over 1000 km. Wet, muddy rides wear them faster. If you ride in the city or flat roads, pads last longer than on steep trails.
Tools And Materials You Need
Before starting, gather the right tools. Missing one tool can stop the whole process.
- New disc brake pads (correct for your brake model)
- Hex/Allen wrenches (usually 2, 3, 4, or 5 mm sizes)
- Needle-nose pliers
- Flat-head screwdriver or pad spreader
- Clean rag or paper towel
- Isopropyl alcohol (for cleaning)
- Bike stand (optional, but makes work easier)
- Gloves (to keep hands clean)
- Small container (for bolts and pins)
For hydraulic brakes, avoid getting oil on the pads or rotor. For mechanical brakes, you may need a cable tension tool.
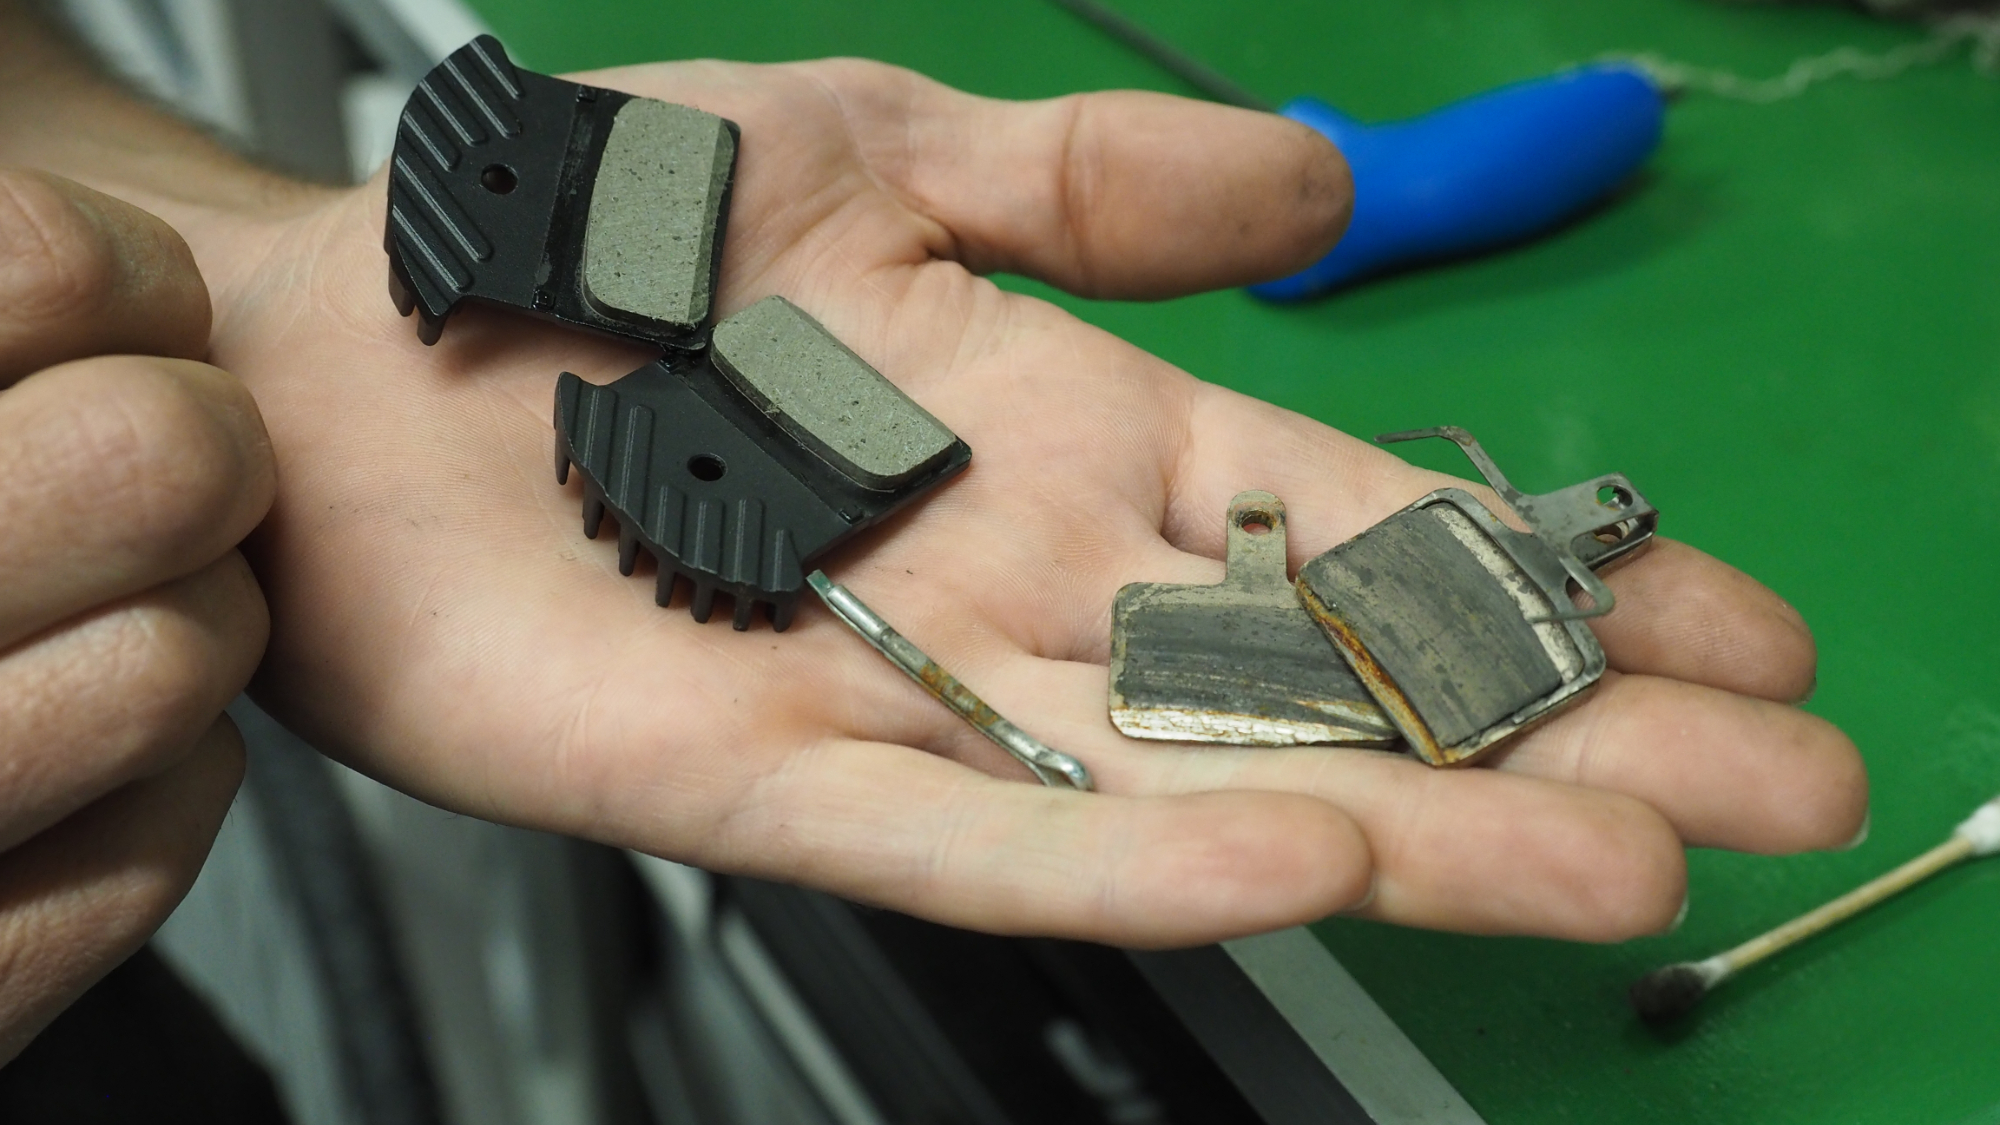
Credit: www.bikeperfect.com
Step-by-step Process To Change Disc Brake Pads
Let’s dive into the actual steps, with expert advice and common mistakes to avoid.
1. Remove The Wheel
First, take off the wheel with the disc brake. This makes it much easier to access the caliper and pads.
- Shift into the smallest gear if working on the rear wheel.
- Open the quick-release lever or thru-axle.
- Gently remove the wheel, keeping the rotor clean.
Tip: Don’t squeeze the brake lever with the wheel off—it can push the pistons out.
2. Open The Caliper And Remove Old Pads
The brake caliper holds the pads and sits over the rotor. Most pads are held by a pin, bolt, or spring clip.
- Find the retaining pin or bolt (usually on the top or back of the caliper).
- Use the correct hex wrench or pliers to remove the pin.
- Take out the spring clip if there is one.
- Slide the old pads out. Sometimes, they stick—gently use pliers if needed.
If the pads are dirty, avoid touching the rotor or new pads with greasy hands.
3. Inspect The Caliper And Pistons
With the old pads out, check inside the caliper.
- Look for dirt, oil, or brake fluid leaks.
- Clean inside with a rag and isopropyl alcohol.
- Check the pistons (small round parts that push pads). They should be evenly spaced.
Non-obvious insight: If pistons are uneven, gently push them back with a clean tire lever or plastic pad spreader—never a metal tool.
4. Prepare And Install New Pads
New pads sometimes come with a thin layer of oil for protection. Clean them with isopropyl alcohol and let dry.
- Place the spring between the pads (if your brake uses one).
- Slide the new pad set into the caliper.
- Align holes for the retaining pin or bolt.
- Insert the pin/bolt and secure it. If there’s a safety clip, put it back.
Beginner’s mistake: Installing pads backwards or upside down. Make sure the pad material faces the rotor.
5. Reset The Pistons
With new, thicker pads, space may feel tight.
- Use a pad spreader or flat-head screwdriver to gently push pistons back before putting in new pads.
- Never force the pads in; this can damage the pistons.
6. Reinstall The Wheel
Slide the wheel back into the frame, making sure the rotor fits between the new pads.
- Tighten the quick-release or thru-axle securely.
- Spin the wheel to check for rubbing.
If the rotor rubs, the caliper may need minor adjustment.
7. Align The Caliper (if Needed)
After new pads, sometimes the caliper sits slightly off.
- Loosen the caliper mounting bolts slightly.
- Squeeze the brake lever firmly—this centers the caliper.
- While holding the lever, tighten the bolts again.
- Spin the wheel to check for noise.
Advanced tip: If rubbing continues, check if the rotor is bent. Small bends can be straightened with a rotor truing tool.
8. Break In (bed In) The New Pads
New pads need a bed-in process for best performance. This means heating the pads and rotor gently so they match each other.
- Find a safe, flat space.
- Ride up to moderate speed (15-20 km/h), then brake firmly until you almost stop.
- Repeat 10-15 times.
- Avoid full stops—just slow down and release.
This step is essential for strong, quiet braking.
Types Of Bike Disc Brake Pads
Choosing the right pad type affects performance and durability. Here’s a comparison of the main types:
| Pad Type | Best For | Pros | Cons |
|---|---|---|---|
| Organic/Resin | Dry, quiet rides | Low noise, gentle on rotors | Wears faster, fades in wet |
| Sintered Metal | Wet, muddy, long descents | Long-lasting, strong stopping | Can be noisy, harder on rotors |
| Semimetallic | Mixed conditions | Good balance, moderate life | Some noise, moderate rotor wear |
Practical advice: Check your brake manufacturer’s website for compatible pad types. Some rotors only work with certain pads.
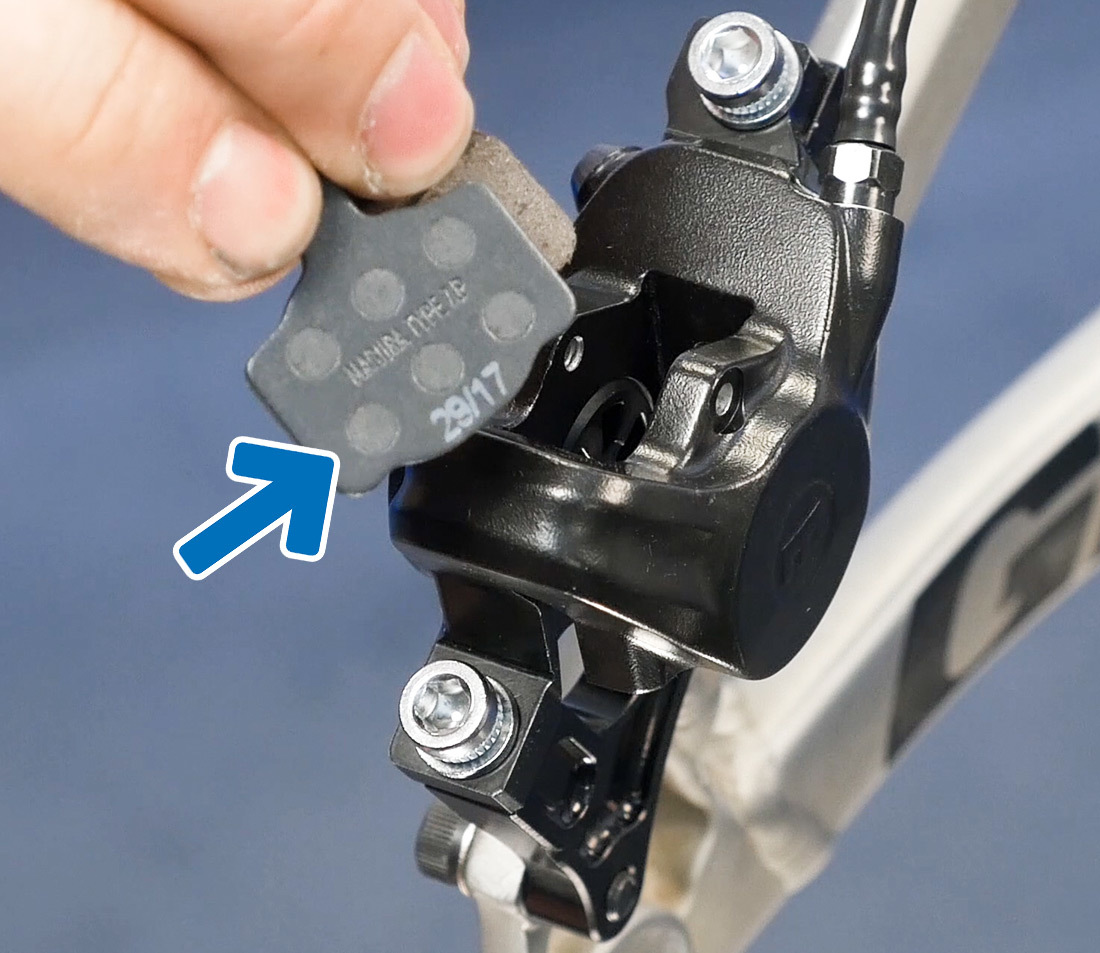
Credit: www.parktool.com
Common Mistakes To Avoid
Even experienced riders make errors when changing disc brake pads. Here are mistakes to avoid:
- Touching the pad surface with oily fingers—contamination reduces braking.
- Forgetting to clean the caliper before installing new pads.
- Not resetting the pistons fully—makes fitting new pads difficult.
- Skipping the bed-in process—leads to weak, noisy braking.
- Mixing old and new pads on the same caliper—always replace both.
- Ignoring rotor wear—bad rotors can ruin new pads quickly.
Cleaning And Maintenance Tips
Proper cleaning extends pad and rotor life. Use only isopropyl alcohol or dedicated brake cleaner.
How To Clean Brakes
- Remove the wheel and pads.
- Wipe the rotor and inside the caliper with a clean rag and alcohol.
- Let everything dry fully before reassembly.
- If pads get contaminated with oil, replace them—cleaning rarely fixes it.
Non-obvious insight: If you ride in rain or mud, clean your brakes more often. Grit acts like sandpaper, wearing everything faster.
How Often Should You Check Your Pads?
Regular checks prevent sudden brake failure. Here’s a handy schedule:
| Riding Style | Check Frequency | Typical Replacement Interval |
|---|---|---|
| Commuting (dry roads) | Every 2 months | 6-12 months |
| Mountain biking | Monthly | 3-6 months |
| Wet/muddy conditions | Every 2-4 weeks | 2-4 months |
Check pads more often if you hear noise or feel weaker brakes.
What To Do With Old Pads
Used brake pads contain metal, resin, and sometimes hazardous materials. Don’t throw them in regular trash.
- Check with your local bike shop for recycling.
- Some manufacturers offer take-back programs.
- Never burn or crush old pads.
Note: Recycling rules vary by country—always check local guidelines.
Safety Warnings And Troubleshooting
Disc brakes are powerful. If you make a mistake, braking can fail. If you ever feel unsure, ask a professional for help.
- If you see brake fluid leaking from hydraulic brakes, stop riding and get it fixed.
- If your wheel does not spin freely after changing pads, double-check alignment.
- If you hear a loud metal-on-metal sound, stop riding immediately—pads may be worn out or installed wrong.
Advanced Tips For Smooth Braking
For even better results, try these expert techniques:
- Use a torque wrench to tighten caliper bolts to the manufacturer’s specs.
- Replace rotors if they are thinner than the minimum thickness marked on the edge.
- Carry a small emergency pad set on long rides.
- After wet rides, dry your brakes by gently applying them as you roll.

Credit: www.youtube.com
Frequently Asked Questions
How Do I Know What Brake Pads Fit My Bike?
Check the brand and model of your brakes, usually printed on the caliper. Search for pads that match exactly—using the wrong type can cause problems. Your local bike shop or the manufacturer’s website can help.
Can I Mix Different Pad Types On The Same Bike?
No, always use the same pad type on both sides of each caliper. Mixing types can lead to uneven braking and extra noise. You can use different types on the front and rear brake, but not within the same caliper.
What Should I Do If My New Pads Squeal?
Squealing often means the pads or rotors are contaminated or not bedded in. Clean both with isopropyl alcohol and repeat the bed-in process. If noise continues, check alignment and pad type.
How Tight Should The Caliper Bolts Be?
Caliper mounting bolts should be tightened to the torque setting listed by your brake manufacturer, usually 6-8 Nm. Too loose, and the caliper moves; too tight, and you can damage threads.
Where Can I Find More Information On Brake Pad Types And Compatibility?
For reliable details, see the Wikipedia page on bicycle disc brakes. Manufacturer sites like Shimano and SRAM also have detailed guides.
Changing bike disc brake pads is a valuable skill, giving you more control over your bike’s performance and safety. By following these steps and tips, you’ll keep your bike stopping smoothly and avoid costly repairs. And with each pad change, your confidence grows—making every ride safer and more enjoyable.