Installing new bike pedals is a task many cyclists face, whether upgrading to a better set or simply replacing worn-out ones. While it sounds simple, a few key details can make the difference between a smooth ride and future headaches.
If you’ve never done this before, don’t worry—this guide will take you through every step, explain common mistakes, and share tips that even some seasoned riders overlook. By the end, you’ll have the confidence to install pedals correctly, protect your bike, and keep your rides safe.
Why Correct Pedal Installation Matters
It’s easy to think that pedals are a small part of a bike. However, they play a huge role in safety, efficiency, and comfort. Incorrect installation can cause thread damage, squeaking noises, and even lead to pedals coming loose while riding. This can result in dangerous accidents, especially at high speeds or in traffic. Properly fitted pedals also help prevent knee pain by ensuring a good alignment for your legs.
Tools And Materials You Need
Having the right tools makes pedal installation much easier and safer. Here’s what you’ll need:
- Pedal wrench or a 15mm open-ended wrench (some pedals need a hex/Allen key instead)
- Grease (bike-specific is best, but general-purpose works in a pinch)
- Clean rag for wiping threads and crank arms
- Torque wrench (optional, but useful for precise tightening)
- New pedals (check for left and right markings)
Many beginners use the wrong size wrench and damage the flats on pedal spindles. Always check your pedal’s requirements—some brands use Allen key fittings on the inside of the crank rather than the outside.
Understanding Pedal Threads
One detail that surprises many riders: Bike pedals have opposite threads. The right pedal has a standard (clockwise) thread, while the left pedal has a reverse (counterclockwise) thread. This prevents pedals from coming loose as you pedal.
Look for markings on the pedal axles:
- R or Right for the drive side (chain side)
- L or Left for the non-drive side
If you can’t find markings, hold both pedals side by side and compare the threads. The thread direction will be opposite.
Removing Old Pedals
Before installing new pedals, you need to remove the old ones. Follow these steps:
- Position the bike. Place your bike on a work stand or lean it against a wall. If you don’t have a stand, shifting the chain to the largest chainring helps protect your knuckles from slipping.
- Locate the correct tool slot. Some pedals use a wrench flat between the pedal body and crank arm; others use a hex socket at the inside end of the axle.
- Remove the right (drive side) pedal. Turn the wrench counterclockwise to loosen.
- Remove the left (non-drive side) pedal. This one is reverse-threaded—turn the wrench clockwise.
Pedals can be tight from months or years of use. If stuck, apply a little penetrating oil and try again after a few minutes. Avoid excessive force to prevent damaging the crank arms.
Preparing Threads And Pedals
Cleanliness and lubrication are critical for pedal threads. Dirty threads can cause squeaks and make future removal very hard.
- Clean threads on both the crank arms and the pedal axles with a rag.
- Apply a thin layer of grease to the pedal threads. This prevents seizing and protects against water and rust.
Many beginners skip this step, leading to seized pedals that are nearly impossible to remove later.
Installing The New Pedals
Now it’s time to install the new pedals. Here’s how to do it right:
- Identify left and right pedals. Double-check the markings.
- Start threading by hand. Hold the pedal at the correct angle and turn it slowly into the crank arm by hand. This prevents cross-threading, which can permanently damage the crank.
- Tighten with the proper tool. Once the pedal is hand-tight, use your wrench or Allen key to tighten further.
- Right pedal (drive side): Turn clockwise to tighten.
- Left pedal (non-drive side): Turn counterclockwise to tighten.
Do not overtighten—pedals only need to be snug. If you use a torque wrench, aim for 35-40 Nm. Too much force can strip threads, especially on aluminum cranks.
Here’s a quick comparison of tightening directions:
| Side | Thread Direction | How to Tighten |
|---|---|---|
| Right (Drive Side) | Standard (Right-hand) | Clockwise |
| Left (Non-drive Side) | Reverse (Left-hand) | Counterclockwise |
Extra Tips For Installing Different Types Of Pedals
Not all pedals are the same. Road, mountain, and commuter bikes can use different pedal systems. Here are key points for the most common types:
Platform Pedals
These are flat pedals without clips. Installation is straightforward—just follow the standard steps above. Always check that the pedal sits flush against the crank arm to avoid rocking or noise.
Clipless Pedals
Clipless pedals, popular in road and mountain bikes, have a smaller contact area and a more complex attachment. Make sure to align the pedal axle perfectly straight when threading, as these are easier to cross-thread.
Some clipless pedals come with washers. Install the washer between the pedal and crank if provided—this prevents wear on the crank arm surface.
Pedals With Integrated Sensors
Some high-end pedals include power meters or other electronics. Always read the manufacturer’s instructions, as these often have special installation requirements, including specific torque values.
Common Mistakes To Avoid
Even experienced cyclists can make simple errors when installing pedals. Watch out for these issues:
- Cross-threading: This happens when the pedal is forced in at an angle. Always start threading by hand.
- Wrong side installation: Installing a left pedal on the right side (or vice versa) will damage threads.
- No grease: Dry installation leads to seized pedals and future removal problems.
- Overtightening: Too much force can strip soft aluminum cranks.
- Under-tightening: Loose pedals can unscrew while riding, causing accidents.
A helpful tip: After your first ride, check pedal tightness again—they can sometimes loosen slightly as they “bed in.”
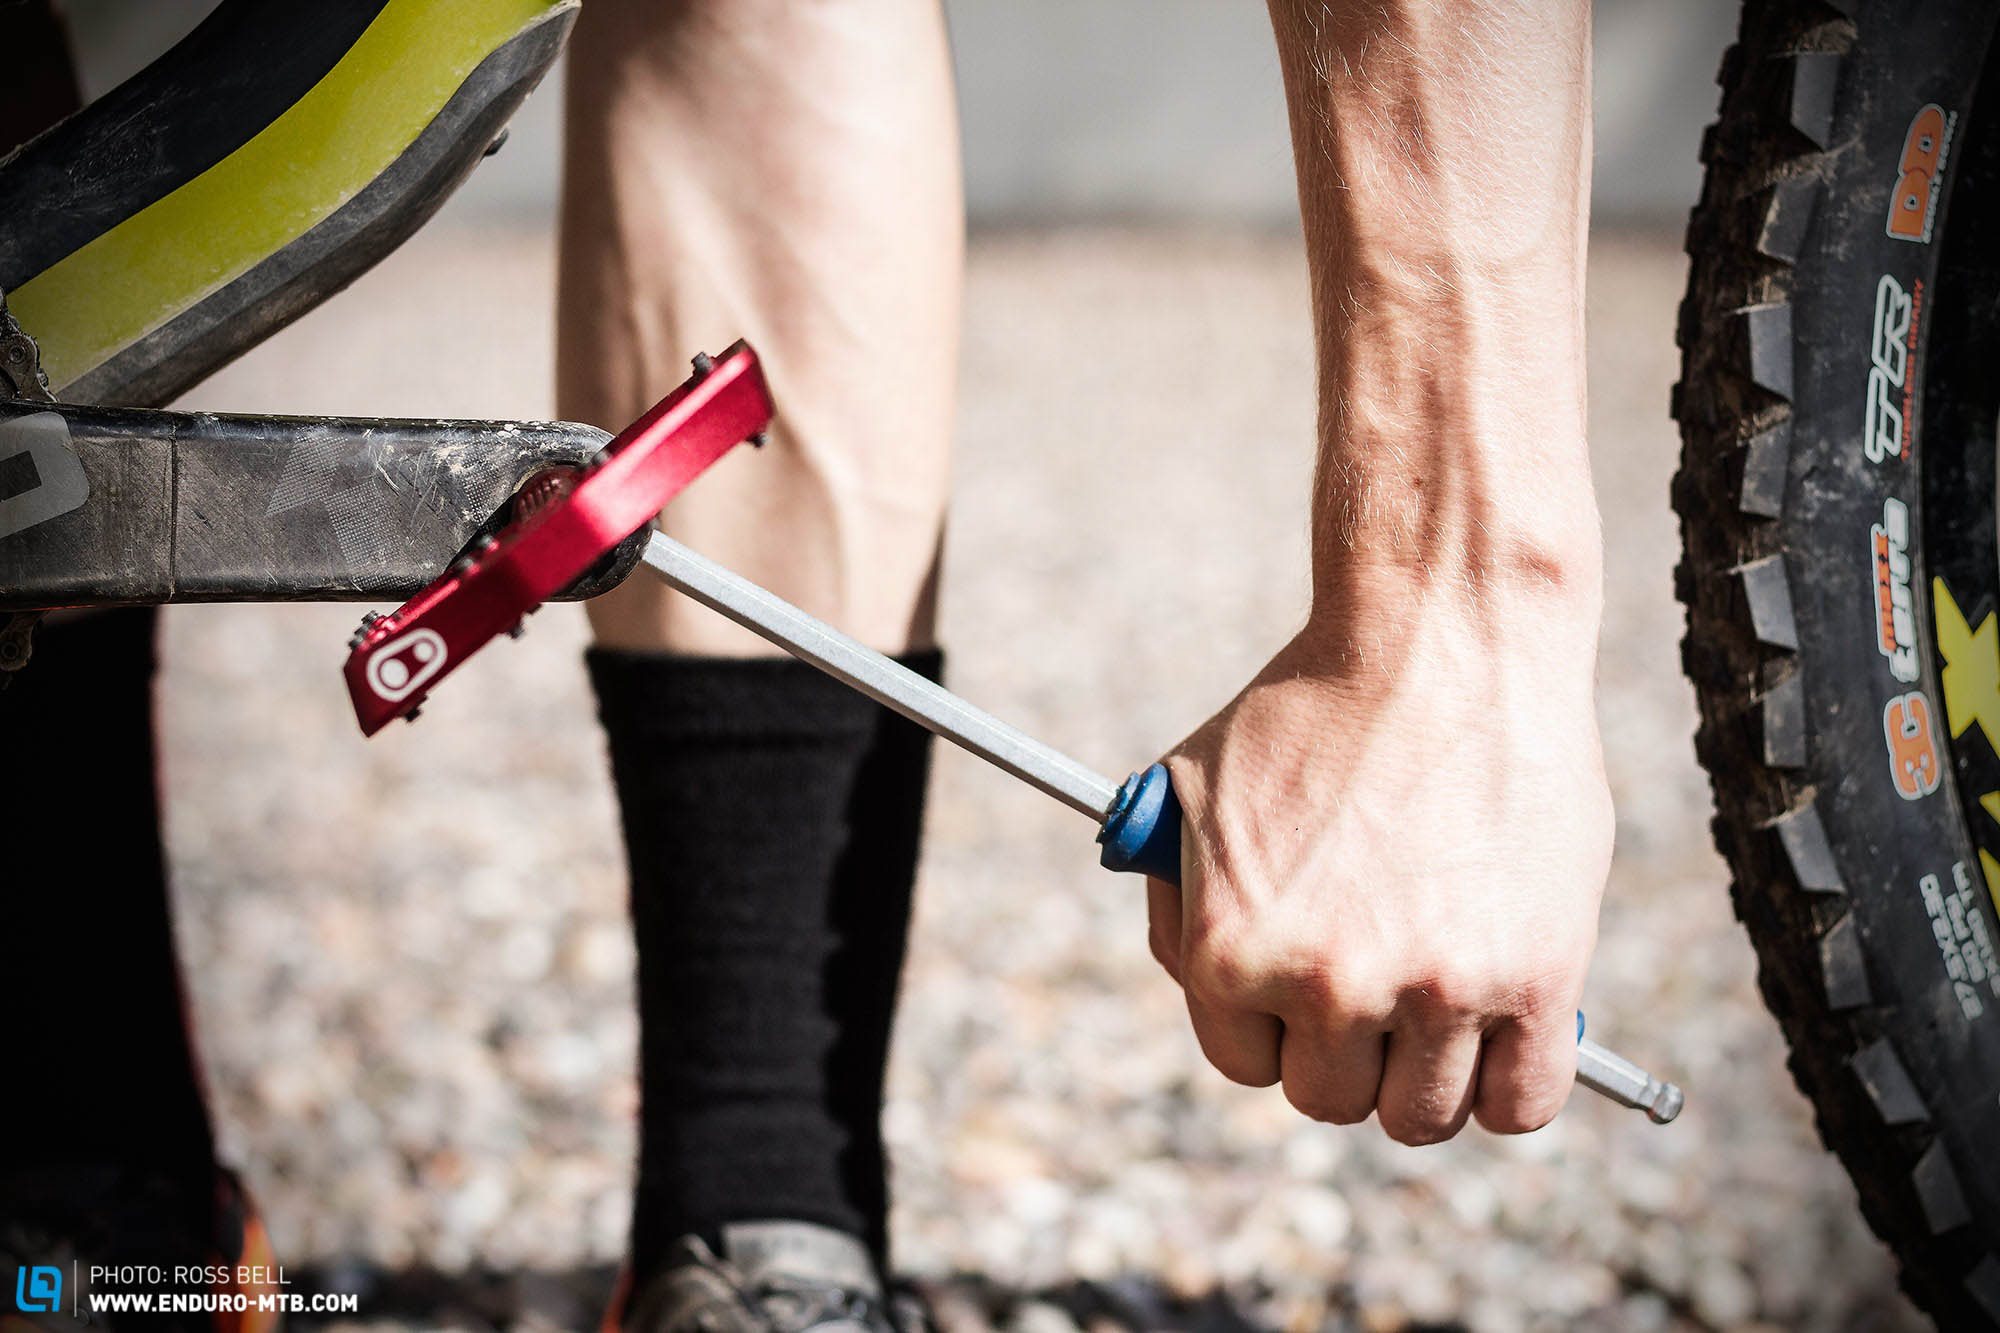
Credit: enduro-mtb.com
How Pedal Materials Affect Installation
Pedal axles are usually steel, but crank arms are often aluminum. Aluminum is softer and more easily damaged. If you ride in wet or salty climates, using a good quality waterproof grease is even more important to avoid galvanic corrosion between steel and aluminum parts.
Here’s a comparison of crank arm materials and care:
| Crank Material | Durability | Thread Sensitivity | Grease Importance |
|---|---|---|---|
| Aluminum | Medium | High | Very high |
| Steel | High | Medium | Medium |
| Carbon (with alloy insert) | High | Medium | High |
If you have carbon cranks, always follow the manufacturer’s instructions, as these can have different torque limits and may require a special insert.
When To Replace Pedals
Pedals should be replaced if you notice:
- Excessive play or wobble in the pedal body
- Noisy bearings that remain after cleaning and lubrication
- Difficulty clipping in or out (for clipless systems)
- Damaged threads or visible cracks
High-mileage riders often replace pedals every few years, while casual riders can go longer. Regular checks help avoid problems.
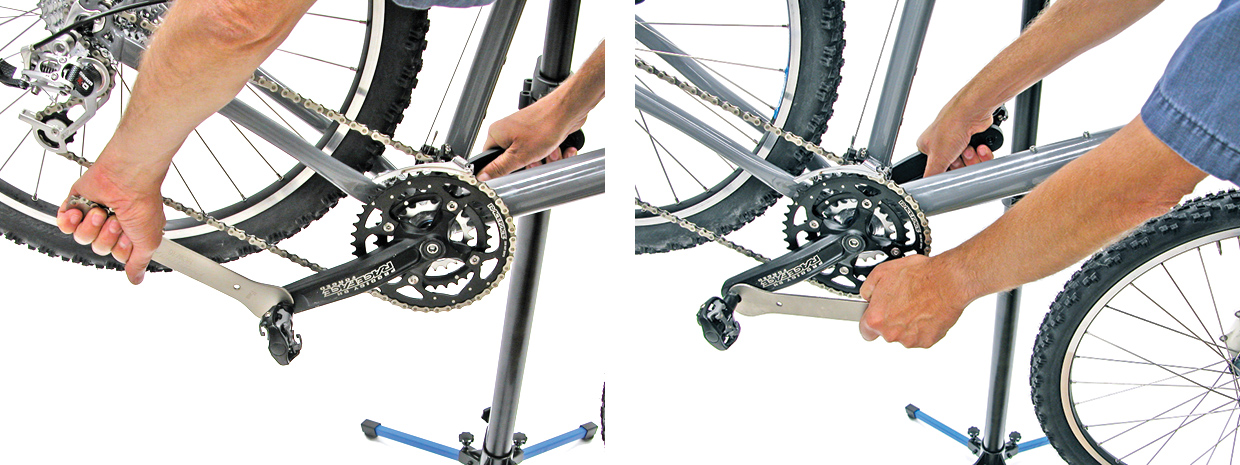
Credit: www.parktool.com
Real-world Example: Urban Commuter
Imagine you commute daily and ride through rain and puddles. After one year, you try to remove your pedals and find they are stuck. This happens to many city riders due to rust and dirt build-up. If you had used waterproof grease at installation, removal would be much easier.
This real-world scenario highlights why every detail in this guide matters, not just for now but for years later.
Advanced Tips For Experienced Riders
Two advanced methods can help if you encounter problems:
- Thread chaser tool: If pedal threads get slightly damaged, a thread chaser can restore them. These are available at most bike shops.
- Pedal washers: For bikes with crank arm wear or to adjust pedal spacing, washers can help preserve crank arms and improve fit.
For more on bike pedal types and their features, see this Bicycle pedal guide on Wikipedia.
Safety Check After Installation
Before riding, always do a safety check:
- Spin pedals by hand—they should turn smoothly with no resistance.
- Stand on each pedal to check for any movement or looseness.
- Take a short test ride and listen for unusual noises.
If you feel or hear anything odd, recheck the tightness and alignment.
Troubleshooting: When Pedals Won’t Go In
Sometimes, even with clean threads, pedals just won’t start. Here’s what to do:
- Double-check left/right pedal orientation.
- Inspect crank threads for damage or dirt.
- Try inserting the pedal from a different angle, but never force it.
- If threads are stripped or damaged, take your bike to a professional for repair.
If you’re unsure, it’s better to ask a bike shop for help than risk costly repairs.
Pedal Installation: Quick Reference Steps
Here’s a summary for quick reference:
- Gather tools and grease.
- Identify left and right pedals.
- Remove old pedals (right: Counterclockwise, left: clockwise).
- Clean and grease crank threads.
- Thread new pedals by hand (right: Clockwise, left: counterclockwise).
- Tighten with wrench (snug, not overtight).
- Check pedal movement and tightness after first ride.
Frequently Asked Questions
How Do I Know Which Pedal Is Left And Which Is Right?
Most pedals are marked with an L (left) or R (right) near the thread. The right pedal goes on the chain side and tightens clockwise, while the left pedal goes on the opposite side and tightens counterclockwise.
What Should I Do If My Pedal Is Stuck And Won’t Come Off?
Apply a little penetrating oil to the threads, wait a few minutes, and try again. Use a proper pedal wrench for better leverage. If still stuck, visit a local bike shop to avoid damaging your crank arm.
Can I Install Pedals Without Grease?
You can, but it’s not recommended. Without grease, pedals may seize due to rust or corrosion, making future removal very difficult and risking thread damage.
Is It Possible To Over-tighten Pedals?
Yes. Overtightening can strip the threads, especially on aluminum cranks. Tighten until snug, or use a torque wrench set to the manufacturer’s specification (usually 35-40 Nm).
Why Do Pedals Have Different Threads On Each Side?
This is to prevent the pedals from loosening while riding. The left pedal has a reverse thread, so normal pedaling motion keeps both pedals tight.
Installing bike pedals isn’t just a basic maintenance task—it’s essential for safe, enjoyable cycling. Taking a few extra minutes to do the job properly can save money, prevent injuries, and keep your bike running smoothly for years. Whether you’re a daily commuter or a weekend rider, these steps will help you ride with confidence every time.

Credit: www.jordanianschoolqatar.com