Changing your bike’s disk brake pads is one of the most important maintenance skills for any cyclist. Worn brake pads can reduce stopping power, make noises, and even damage your rotors. Many riders feel nervous about touching their brakes, but with the right tools and knowledge, you can do this at home—even if you have little mechanical experience. This guide will walk you through every step, help you avoid beginner mistakes, and explain why each step matters. Whether you ride on the road, trails, or both, knowing how to replace your disk brake pads keeps you safe and extends your bike’s lifespan.
Why Change Disk Brake Pads?
Over time, disk brake pads wear down due to friction against the rotor. When the pads get too thin, you may notice decreased braking power, squealing noises, or a grinding feel. If you ignore worn pads, you risk damaging expensive parts like the rotors or even losing control during a ride. For riders who bike regularly, checking and changing pads is as essential as inflating tires.
Replacing pads before they’re fully worn out gives you:
- Consistent braking performance
- Longer rotor life
- Safer rides, especially in emergencies
Most manufacturers recommend changing brake pads when the friction material is less than 1 mm thick. Some riders change them earlier for better performance.
Tools And Materials Needed
Having the right tools makes this job faster and helps avoid mistakes. Here’s what you’ll need:
- New disk brake pads (make sure they match your brake model)
- Allen/hex keys (usually 2.5, 3, or 5 mm)
- Needle-nose pliers (for pad retaining clips or pins)
- Flathead screwdriver (for pad removal)
- Isopropyl alcohol (for cleaning)
- Clean, lint-free cloth
- Pad spreader or plastic tire lever
- Gloves (optional, to keep hands clean)
For some bikes, you may also need:
- Torque wrench (for correct bolt tightness)
- Bike stand (not essential, but helpful)
Understanding Your Brake System
Not all disk brakes are the same. There are two main types:
- Hydraulic disk brakes: Use fluid to push the pistons. Common on mountain and high-end road bikes.
- Mechanical disk brakes: Use cables, similar to rim brakes. Found on entry-level and some touring bikes.
Most steps are similar for both, but hydraulic systems need extra care to avoid pushing pistons out or letting air in.
Popular Pad Shapes And Materials
Disk brake pads come in different shapes and materials. The most common types are:
- Resin/organic pads: Quieter, better initial bite, but wear faster.
- Sintered/metallic pads: Longer lasting, better in wet conditions, but can be noisy.
- Semi-metallic pads: A balance of both.
Check your bike’s manual or old pads to order the correct shape.
Here’s a quick comparison:
| Pad Material | Braking Power | Durability | Noise Level | Best For |
|---|---|---|---|---|
| Resin/Organic | High | Low | Low | Dry, quiet rides |
| Sintered/Metallic | Medium | High | High | Wet, muddy conditions |
| Semi-metallic | Medium-High | Medium | Medium | Mixed use |
How To Check If Your Pads Need Changing
Before you start, check if your pads really need replacing. Here’s how:
- Remove the wheel to see the pads clearly.
- Look inside the caliper—most pads have a small gap in the middle, so you can see the friction material.
- If you see less than 1 mm of material (not including the metal backing), it’s time to change.
- Check for uneven wear, cracks, or contamination (oil or grease).
A common mistake is confusing the pad’s metal backing plate with the friction material. Never ride with only the metal part left.
Removing The Old Brake Pads
Now let’s get into the main steps. Work carefully, and don’t rush.
- Take off the wheel: This gives you full access to the caliper and pads. For rear wheels, shift to the smallest cog to make it easier.
- Open the caliper: Locate the pad retaining pin or bolt—usually held in by a small cotter pin or clip.
- Remove the pin or clip: Use needle-nose pliers for clips, or a hex key for bolts.
- Slide out the old pads: Most pads pull straight out. If stuck, gently use a flathead screwdriver to loosen.
- Inspect the caliper: Check for dirt, debris, or fluid leaks.
Example: Shimano And Sram Pad Removal
Shimano brakes often use a split pin or small bolt. SRAM may use a threaded pin. Always keep small parts in a safe place, as losing a pin can stop your ride.
Cleaning The Caliper And Rotor
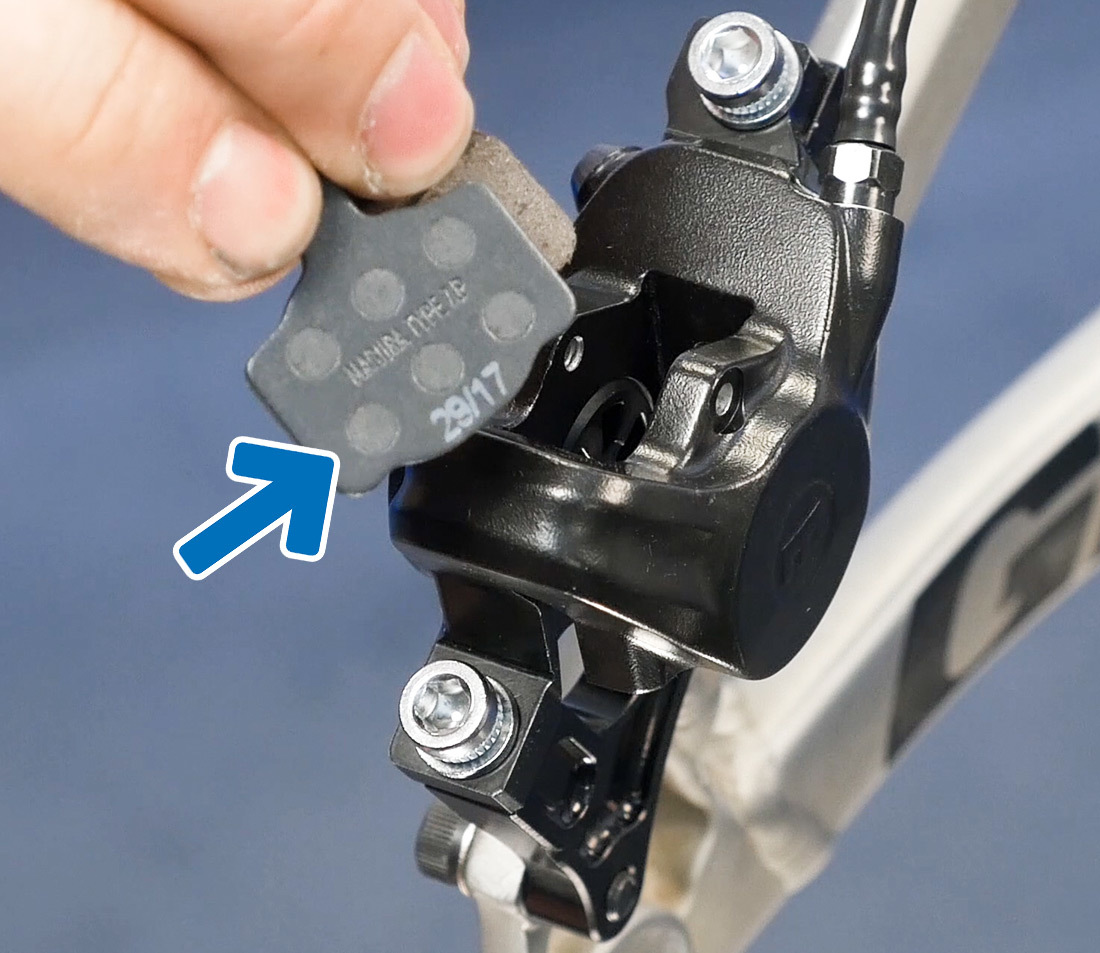
Before installing new pads, clean everything. Even a little oil or dirt can ruin new pads.
- Use isopropyl alcohol on a clean cloth to wipe the inside of the caliper.
- Clean the rotor surface thoroughly.
- Avoid touching the new pads’ braking surface with your fingers.
If you see oil or sticky fluid, check for leaks—a sign your system needs more than just new pads.
Credit: www.parktool.com
Resetting The Pistons
When pads wear down, pistons move out to compensate. You must push them back before fitting new, thicker pads.
- Insert a pad spreader or plastic tire lever between the pistons.
- Gently push both pistons back into the caliper. Do not use metal tools, as these can scratch or damage the pistons.
- Check both sides—pistons should be even.
A common beginner mistake is forcing the pistons with a screwdriver, which can cause leaks or permanent damage.
Installing The New Pads
Once everything is clean and ready, install the new pads:
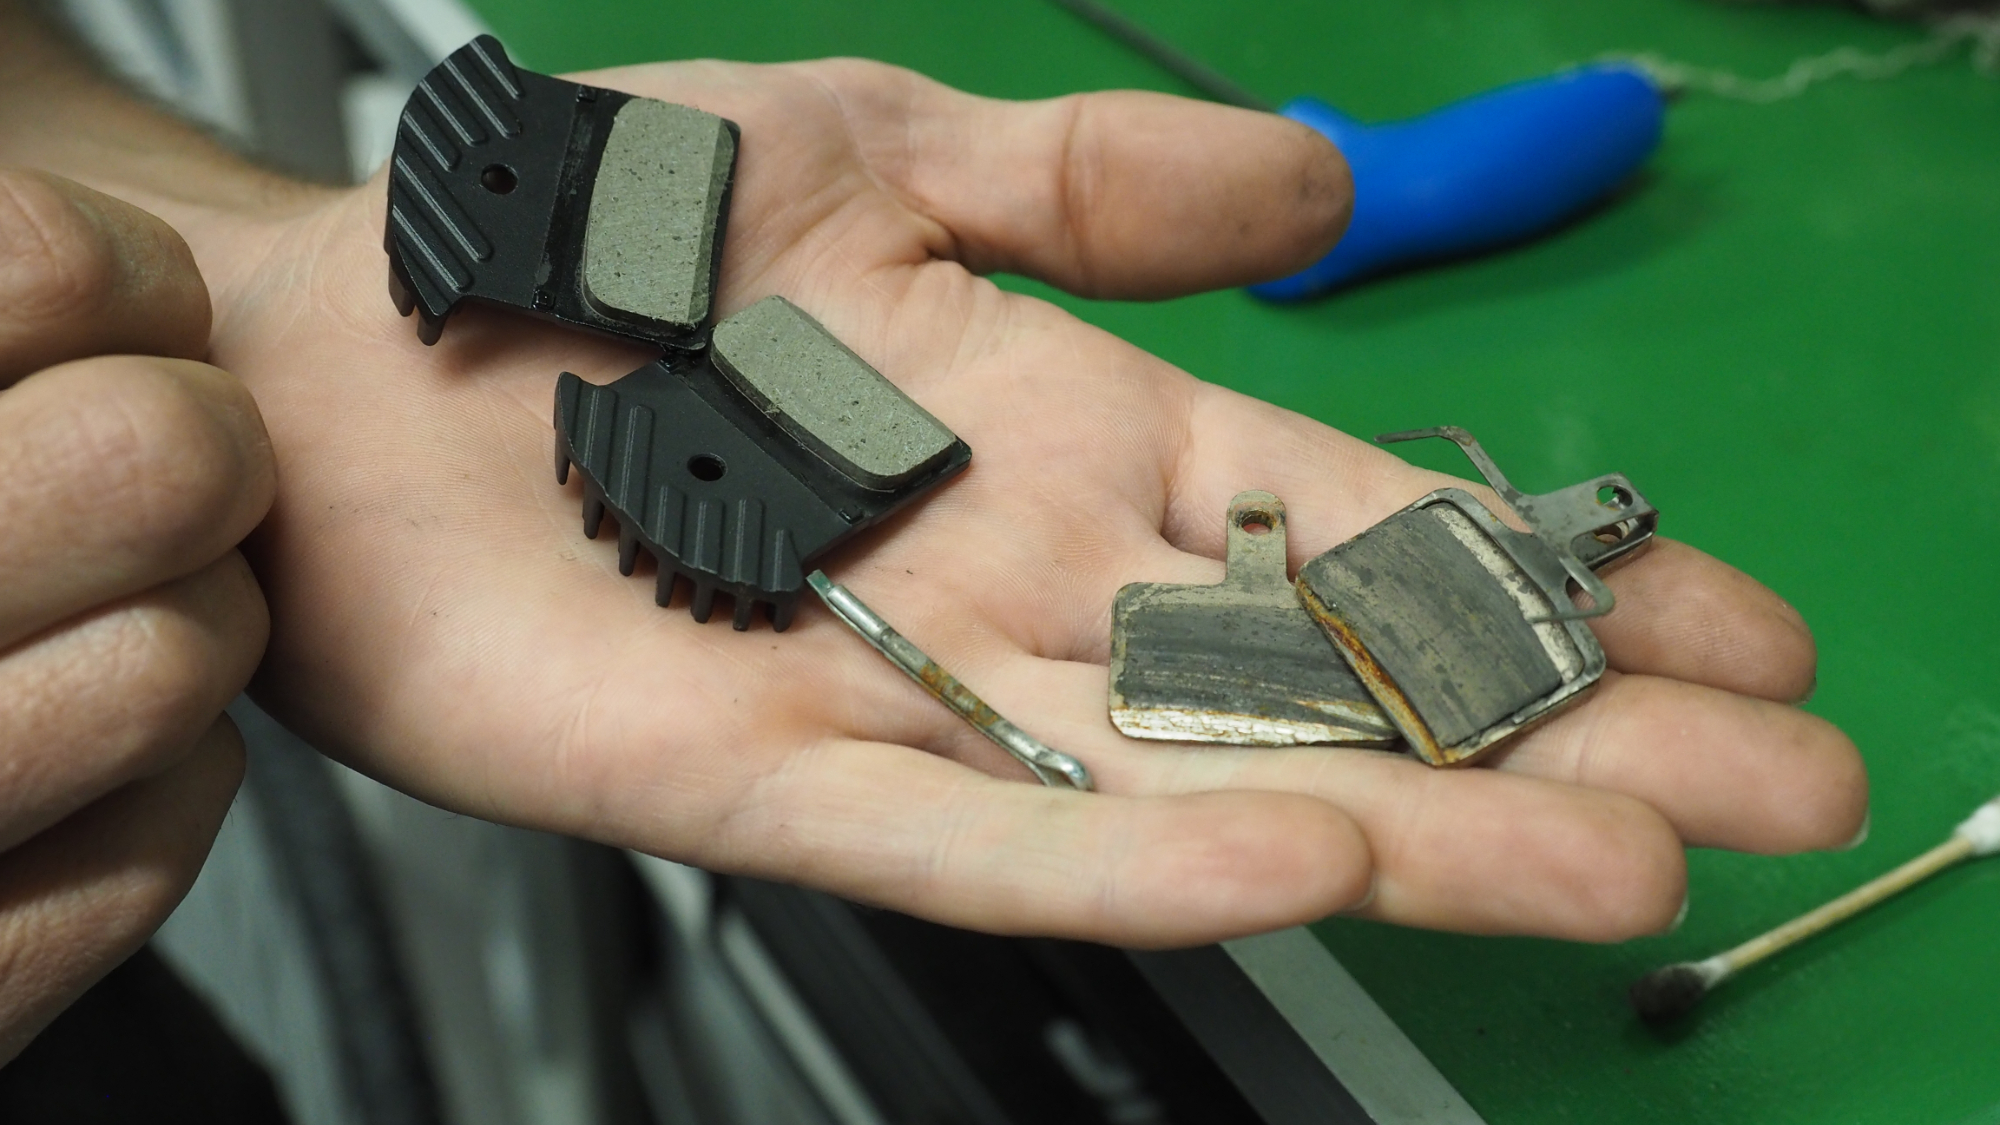
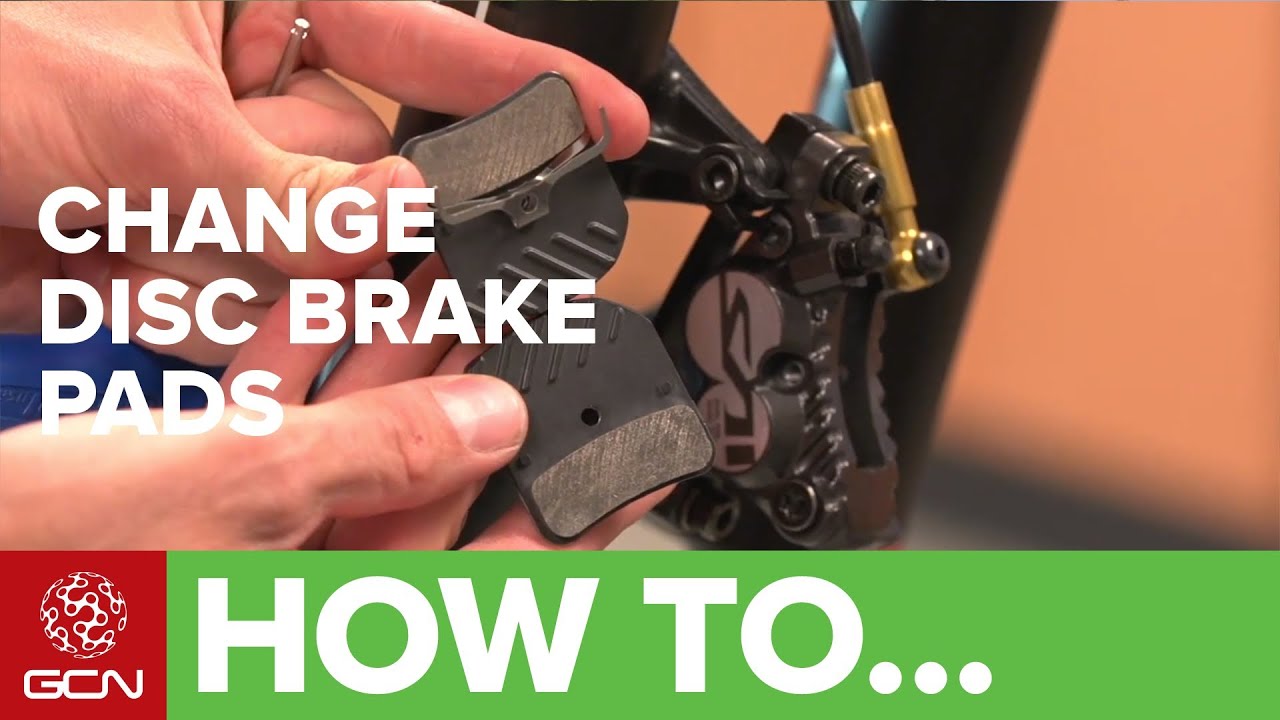
- Align both pads with the slot in the caliper. Most pads have a spring that sits between them to push them apart.
- Slide both pads and the spring into the caliper together.
- Insert the retaining pin or bolt through the holes in the pads.
- Replace the clip or tighten the bolt to the manufacturer’s torque setting.
It’s easy to install pads backwards. Make sure the friction material faces the rotor, not the outside of the caliper.
Credit: www.bikeperfect.com
Reinstalling The Wheel
With the new pads in place:
- Carefully put the wheel back into the frame.
- Make sure the rotor sits between the pads.
- Tighten the axle or quick-release skewer.
Spin the wheel to check for rubbing. If you hear scraping, the caliper may need adjusting.
Aligning The Caliper
Misaligned calipers cause noise and poor braking. Here’s how to fix it:
- Loosen the caliper mounting bolts slightly.
- Squeeze the brake lever hard to center the caliper over the rotor.
- While holding the lever, tighten the bolts.
- Release the lever and spin the wheel to check for rubbing.
If the wheel doesn’t spin freely, repeat the process or use a thin business card between the pad and rotor to fine-tune alignment.
Bedding In New Pads
New pads need to be “bedded in” for full performance. This means transferring a thin, even layer of pad material onto the rotor.
- Ride at a moderate speed (15-20 km/h).
- Apply the brakes firmly but not harshly, slowing to walking speed.
- Repeat 10-20 times, letting the brakes cool between stops.
This process increases stopping power and reduces noise. Skipping this step is a common cause of squealing or “glazed” pads.
Common Mistakes And How To Avoid Them
Changing brake pads is simple, but some mistakes can ruin new pads or cause unsafe brakes:
- Touching pad surfaces with greasy hands: Always handle by the edges.
- Not pushing pistons back: This makes it impossible to fit new pads or can push the pistons out, causing leaks.
- Forgetting the retaining pin/clip: Pads may fall out while riding.
- Mixing pad types: Both wheels should have similar pad types for predictable braking.
- Not bedding in pads: Leads to poor braking and noise.
Maintenance Tips For Longer Pad Life
To extend the life of your new disk brake pads:
- Keep rotors clean and free of oil.
- Avoid spraying lubricants near the brakes.
- Check pad thickness every few weeks, especially before long rides.
- Store your bike indoors to prevent contamination from rain or mud.
If you ride in wet or muddy conditions, consider sintered pads for extra durability.
Cost Comparison: Diy Vs. Bike Shop
Changing pads yourself saves money. Here’s a cost comparison:
| Option | Cost of Pads (per wheel) | Labor Cost | Total Estimated Cost |
|---|---|---|---|
| DIY | $15 – $30 | $0 | $15 – $30 |
| Bike Shop | $15 – $30 | $20 – $40 | $35 – $70 |
While a bike shop will do the job well, learning this skill gives you freedom and confidence.
When To Visit A Mechanic
Some problems need expert help:
- Leaking hydraulic fluid
- Severely bent or damaged rotors
- Stuck pistons or calipers
- Persistent noise after proper installation
If your brakes feel spongy or never fully engage, don’t ride until they’re fixed.
Real-world Example
Emma, a commuter cyclist, noticed her brakes felt weak and noisy. She checked her pads and found only a thin layer left. Using just basic tools and this guide, she changed her pads in under 30 minutes. After bedding in the new pads, her bike stopped smoothly—even in the rain.
She saved $40 compared to a shop visit and felt much more confident about her bike.
Environmental Impact Of Brake Pads
Old brake pads can be recycled in some regions. Metal backing plates can go with scrap metal, but friction materials may need special disposal. Never toss pads in regular trash if your area offers recycling—ask your local shop or recycling center.
For more on eco-friendly cycling maintenance, see Sheldon Brown’s guide.
Frequently Asked Questions
How Often Should I Change My Disk Brake Pads?
Most riders need to change pads every 1,000–2,000 km, but this depends on weather, riding style, and terrain. Wet or muddy conditions wear pads faster. Always check pad thickness regularly.
Can I Mix Different Pad Materials On Front And Rear Brakes?
It’s possible but not ideal. Each pad material has different feel and performance. For consistent braking, use the same type front and rear.
What Should I Do If My New Pads Are Squealing?
Squealing usually means pads or rotors need to be bedded in, or there’s contamination. Clean both with isopropyl alcohol and repeat the bedding-in process.
Do I Need To Bleed Hydraulic Brakes After Changing Pads?
No, pad changes alone do not require bleeding. But if you accidentally press the lever with no pads installed, air may enter the system, and a bleed might be needed.
Is It Dangerous To Ride With Worn Disk Brake Pads?
Yes. Worn pads reduce stopping power and can damage rotors. In extreme cases, you could lose braking completely, leading to dangerous situations.
Changing your own disk brake pads is a smart skill for any cyclist. It saves money, keeps you safe, and builds confidence in your bike maintenance. Take your time, follow each step, and soon you’ll be ready for any ride, knowing your brakes will work when you need them most.
Credit: www.youtube.com