Changing your bike’s disc brake pads can feel intimidating the first time, but learning this basic skill gives you more control over your bike’s maintenance and performance. Whether you enjoy long rides, technical trails, or just commute through city streets, well-maintained brakes are essential for your safety. Worn pads can lead to reduced stopping power, noisy braking, and even damage to your bike’s rotors. With the right tools, clear steps, and a bit of patience, you can change your bike’s disc brake pads at home and enjoy smoother, safer rides.
This guide will walk you through everything you need to know to replace your bike disc brake pads—from understanding when to change them to handling tricky issues like stuck pads or contaminated rotors. Even if you’re new to bike maintenance, you’ll find practical tips and expert insights that most beginners miss.
Let’s make sure your brakes are reliable every time you ride.
When Should You Change Bike Disc Brake Pads?
Knowing when to replace your disc brake pads is as important as knowing how. Riding with worn pads puts you at risk and can damage other parts of your braking system.
- Pad Thickness: Most manufacturers recommend replacing brake pads when the braking material is less than 1 mm thick. If you see metal backing or the pad looks very thin, it’s time for a change.
- Noise and Squealing: Unusual noises, especially a metallic scraping sound, often mean the pads are worn out or contaminated.
- Reduced Braking Power: If you notice it takes longer to stop or you need to pull the lever harder, your pads might be at the end of their life.
- Glazing or Contamination: Shiny, hardened pad surfaces or oil contamination from lubricants can also reduce braking performance.
Pro Tip: Check your pads every few weeks if you ride often, or after any particularly muddy or wet ride, as grit and water can accelerate wear.
Tools And Materials You’ll Need
Changing disc brake pads doesn’t require fancy equipment, but having the right tools makes the job smoother and safer.
- New disc brake pads (compatible with your caliper model)
- Allen keys (hex wrenches): Usually 3, 4, or 5 mm, depending on your bike
- Needle-nose pliers (for pad retention clips or cotter pins)
- Flathead screwdriver or plastic tire lever (to push pistons back)
- Isopropyl alcohol and a clean cloth (for cleaning rotors and calipers)
- Gloves: To keep hands clean and avoid contaminating pads
- Bike stand (optional, but makes the process easier)
- Small brush: To clean dust and debris
Why these tools? Using proper tools prevents damage to sensitive parts like the pistons or rotor, and ensures your safety.
How To Identify The Right Brake Pads
Disc brake pads come in different shapes, sizes, and materials. Using the wrong pad can lead to poor braking or even component failure.
Pad Shapes And Compatibility
- Check your brake brand and model: Common brands like Shimano, SRAM, and Tektro have unique pad shapes.
- Look for a part number: Many calipers have the compatible pad model stamped somewhere.
- Compare visually: Remove an old pad and match it with new ones at the shop.
Pad Materials
There are three main materials used in disc brake pads:
| Type | Best For | Key Features |
|---|---|---|
| Resin/Organic | Dry conditions, quiet braking | Soft, grippy feel, less wear on rotors |
| Sintered/Metallic | Wet or muddy riding, long descents | Durable, strong stopping power, louder |
| Semi-metallic | General use | Balanced performance and durability |
Non-obvious insight: Some high-end rotors are only compatible with specific pad types. Check your rotor’s specifications before buying pads.
Removing The Old Brake Pads
Before starting, make sure your bike is stable and secure. If you have a bike stand, use it to lift the wheel you’ll be working on.
Step-by-step Removal
- Remove the wheel: For easier access, take off the wheel with the disc brake you want to service. Release the quick-release skewer or thru-axle.
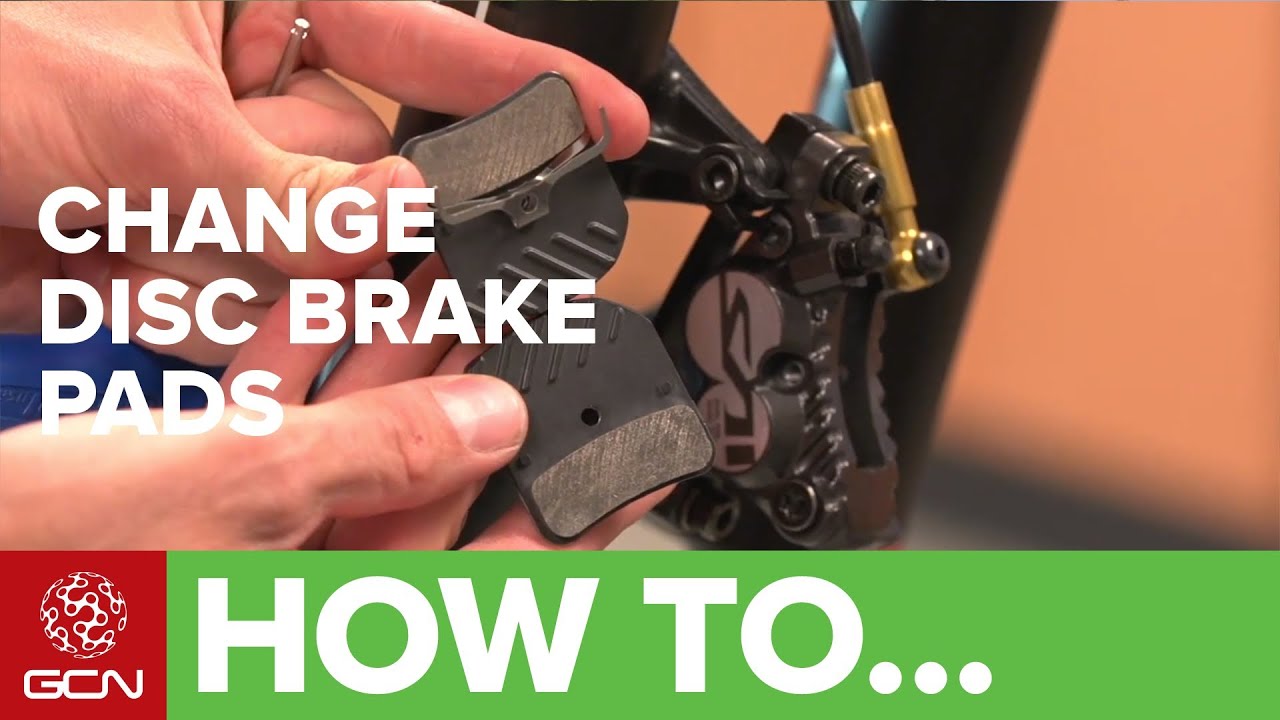
- Open the caliper: Locate the retaining pin or bolt that holds the pads. This might be a small bolt (Allen key), a split pin, or a clip.
- Remove the retaining pin or clip: Use the correct tool (Allen key or pliers) to remove this piece. Set it aside carefully—some are small and easy to lose.
- Slide out the old pads: Gently pull the pads out from the caliper body. Sometimes they may stick due to dirt or wear; wiggle gently but avoid forcing.
- Inspect the caliper and rotor: Check for scoring, contamination, or other damage.
Practical tip: Take a quick photo of the pad and spring orientation before removal. This makes reassembly much easier.

Credit: roadbikeaction.com
Cleaning And Inspecting The Caliper
Before installing new pads, clean the caliper and surrounding area. Dirt or old brake dust can cause noise or uneven wear.
- Use isopropyl alcohol and a clean cloth to wipe inside the caliper.
- Inspect pistons: Look for leaks or damage. Push them back gently with a plastic tire lever or flathead screwdriver wrapped in a cloth.
- Check for debris: Remove any grit or old pad material stuck inside.
Beginner mistake: Skipping cleaning can cause your new pads to squeal or wear out quickly.
Installing New Brake Pads
With everything clean, you’re ready to fit the new pads.
Step-by-step Installation
- Check the orientation: Pads are usually marked left/right or have a direction arrow. Make sure they match your caliper.
- Insert the spring (if needed): Most pads use a small metal spring between them. Place it between the pads before sliding them in.
- Slide pads into the caliper: Push them in together, making sure they sit flat and even.
- Reinstall the retaining pin or bolt: Secure the pads using the pin, bolt, or clip. Tighten to the recommended torque if specified (usually 2–4 Nm).
- Double-check alignment: Pads should not stick out or feel loose.
Non-obvious insight: If the pistons are not fully retracted, the pads won’t fit. Gently press both pistons back evenly before installing.
Reinstalling The Wheel And Aligning The Caliper
Getting the wheel and caliper aligned is key for quiet, efficient braking.
- Replace the wheel: Fit the axle or skewer and secure the wheel tightly.
- Squeeze the brake lever: This centers the pads around the rotor.
- Check for rubbing: Spin the wheel. If you hear rubbing, loosen the caliper mounting bolts slightly, squeeze the brake lever, and retighten.
- Fine-tune alignment: If rubbing persists, adjust the caliper position until the rotor spins freely.
Bedding-in New Brake Pads
New pads don’t reach full power instantly. Bedding-in is a process that allows pads and rotors to mate perfectly, giving you maximum stopping power and quiet operation.
How To Bed-in New Pads
- Find a safe, flat area.
- Accelerate to moderate speed (15–20 km/h).
- Firmly apply the brakes to slow down, but don’t lock the wheel. Repeat 10–15 times.
- Let the brakes cool between stops.
This transfers a thin layer of pad material onto the rotor, improving future performance.
Beginner mistake: Skipping bedding-in can cause poor braking and noisy operation.
Credit: www.reddit.com
Troubleshooting Common Problems
Even with care, you may run into issues. Here’s how to handle common problems:
Squealing Or Noisy Brakes
- Check for contamination: Oil or grease on pads or rotor causes noise.
- Clean thoroughly: Use isopropyl alcohol and a lint-free cloth.
- Replace contaminated pads: If noise persists, pads may be permanently contaminated.
Sticking Pistons
- Gently clean and lubricate: Use a small brush and isopropyl alcohol.
- Cycle pistons: With pads out, squeeze the lever gently to move pistons, then push them back several times.
Difficult Pad Removal
- Wiggle gently: Don’t force. Use pliers if needed, but avoid scratching the caliper.
- Check for bent backing plates: Replace if bent.
Comparing Different Pad Types
Choosing between resin and sintered pads can be confusing. Here’s a quick comparison:
| Feature | Resin Pads | Sintered Pads |
|---|---|---|
| Performance in Wet | Average | Excellent |
| Noise Level | Quiet | Louder |
| Rotor Wear | Low | Higher |
| Lifespan | Shorter | Longer |
Safety And Maintenance Tips
- Avoid touching the pad surface: Oils from your fingers can contaminate pads.
- Store spare pads in sealed bags: This prevents contamination before use.
- Inspect rotors regularly: Warped or worn rotors reduce braking power.
- Replace both sides: Always change both pads in the caliper at the same time.
- Check pad wear after muddy rides: Grit can wear pads much faster.
Mistakes To Avoid When Changing Disc Brake Pads
- Not retracting pistons: Pads won’t fit, and you risk damaging the caliper.
- Forgetting the spring: Missing this piece can cause rattling or uneven braking.
- Touching pad surfaces: Always handle new pads by the edges.
- Mixing old and new pads: This leads to uneven wear and poor performance.
- Not bedding-in pads: This step is essential for full braking power.
Signs Of Other Brake Issues
Changing pads won’t solve every brake problem. If you notice the following, further inspection is needed:
- Spongy brake lever: Air in the hydraulic system—may need bleeding.
- Persistent squeal after cleaning and bedding-in: Rotor may be warped.
- Visible fluid leaks: Seek professional help—seal failure is possible.
Environmental And Cost Considerations
- Pad material: Resin pads are more environmentally friendly but wear out faster.
- Rotor lifespan: Sintered pads extend pad life but can wear rotors more quickly.
- Cost: Expect to pay $10–$40 per pair. Labor at a shop may add $20–$40.
Pro tip: Learning to change your own pads can save you $40 or more each time, and you’ll spot other issues early.
Additional Resources
For more detailed technical guidance, visit the official Sheldon Brown Disc Brake Guide—a trusted source for cyclists worldwide.
Frequently Asked Questions
How Often Should I Change My Bike Disc Brake Pads?
Most riders need to replace disc brake pads every 500–2000 km, depending on terrain, weather, and riding style. Check pad thickness every few months or after muddy rides.
Can I Mix Different Pad Types On The Same Bike?
No, always use the same type (resin, sintered, or semi-metallic) on both sides of the same caliper. Mixing types causes uneven wear and unpredictable braking.
What Happens If I Ride With Worn-out Pads?
You’ll have less stopping power, risk damaging the rotor, and may cause expensive caliper repairs. It’s unsafe—replace worn pads immediately.
Why Are My Brakes Still Noisy After Changing Pads?
Noise can come from rotor contamination, poor bedding-in, or misaligned calipers. Clean everything with isopropyl alcohol and repeat the bedding-in process.
Do I Need To Bleed My Brakes When Changing Pads?
Not usually. Bleeding is only needed if you accidentally squeeze the lever with the wheel and pads removed, or if the brake feels spongy afterward.
Taking care of your bike’s disc brakes keeps you safe, saves money, and improves every ride. With these steps and tips, you’ll be confident in changing your own pads and spotting issues before they become problems. Mastering this skill is a key part of responsible and enjoyable cycling.
Credit: www.youtube.com