Keeping your bike in top condition means looking after every part, and one area riders often overlook is the brake pads. Clean brake pads are not just about smooth stops—they help prevent accidents, reduce wear on other parts, and give you confidence every time you ride.
In this guide, you’ll learn exactly how to clean bike brake pads, why it matters, and how to avoid mistakes beginners often make. Whether you use your bike daily or once a week, these methods will help you get the most from your brakes.
Let’s get straight to it.
Why Clean Bike Brake Pads?
Many cyclists focus on the chain or tires, but brake pads play a critical role in your safety. Over time, dirt, oil, and small metal particles stick to the pads. This debris can make braking less effective and even damage your wheel rims or brake rotors. Clean pads improve stopping power and extend the life of both the pads and braking surfaces.
A study from Cycling Weekly found that dirty brake pads can increase stopping distance by up to 20% on wet roads. For mountain bikers, this difference can mean the gap between control and a crash. Clean pads also stop annoying squeaks, which are often caused by contaminants.
Types Of Bike Brake Pads
Before cleaning, it’s important to know which brake pad type your bike uses. Different pads need different cleaning methods.
| Pad Type | Typical Material | Common Uses |
|---|---|---|
| Rim Brake Pads | Rubber | Road bikes, hybrids |
| Disc Brake Pads – Organic | Resin/organic compounds | Mountain, some road bikes |
| Disc Brake Pads – Sintered | Metal | Mountain bikes, e-bikes |
| Disc Brake Pads – Semi-metallic | Mix of metal and resin | All types |
Not sure what you have? Look for markings on the pad, or check your bike manual.
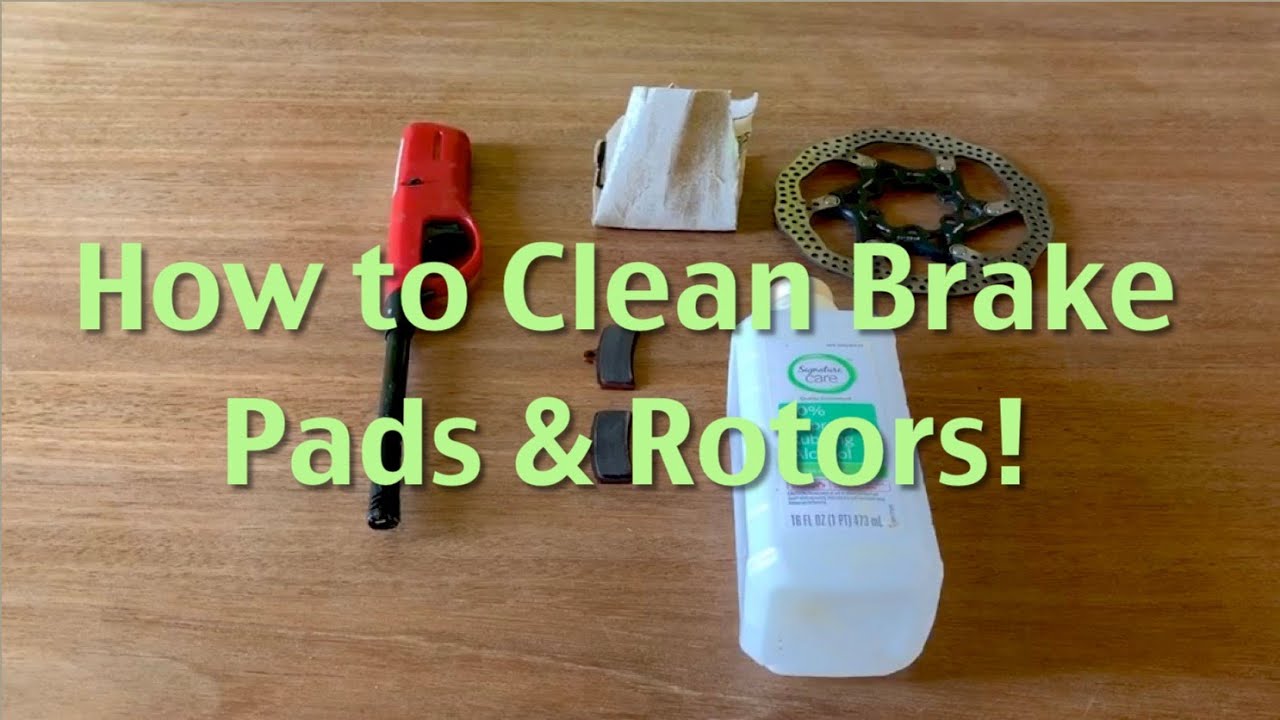
Tools And Materials Needed
You do not need expensive gear to clean brake pads, but the right tools make the job easier and safer. Here’s what you’ll need:
- Clean rags or microfiber cloths
- Isopropyl alcohol (at least 70%)
- Small brush (old toothbrush works well)
- Sandpaper (fine grit, 120-220)
- Hex/Allen wrenches (for removing pads)
- Nitrile gloves (to keep hands oil-free)
- Mild soap and water (for rim brakes)
- Tweezers or needle-nose pliers (for disc pads)
- Bike stand (optional, but helpful)
Never use lubricants or household cleaners—they leave residues that reduce braking power.
Step-by-step Guide: Cleaning Rim Brake Pads
Rim brakes are common on road bikes and hybrids. Their pads are made from rubber, which needs gentle cleaning.
1. Remove The Wheel
First, release the brake and remove the wheel for easy access. This also lets you inspect the rim for embedded debris.
2. Inspect The Pads
Look for signs of wear, cracks, or small metal bits stuck in the pad. Metal fragments often come from the rim after grit or stones get trapped.
3. Clean The Surface
Wipe the pads with a clean, dry cloth to remove loose dust. Then, use a rag dipped in isopropyl alcohol to wipe the pad surface. Alcohol evaporates quickly and doesn’t leave residue.
4. Remove Embedded Debris
If you see shiny metal bits, gently pick them out with tweezers. If the pad is glazed (looks shiny and hard), rub gently with fine sandpaper to roughen the surface. Don’t overdo it—just a few light strokes.
5. Clean The Rim
Dirty rims transfer grime back to the pads. Clean the braking surface of the rim with alcohol and a cloth. Spin the wheel and check for smoothness.
6. Reassemble And Test
Put the wheel back, squeeze the brakes, and make sure the pads hit the rim flat and evenly. Adjust if needed.
Pro tip: If the pads are very worn, replace them. Cleaning won’t fix deep grooves or tears.
Credit: en.brujulabike.com
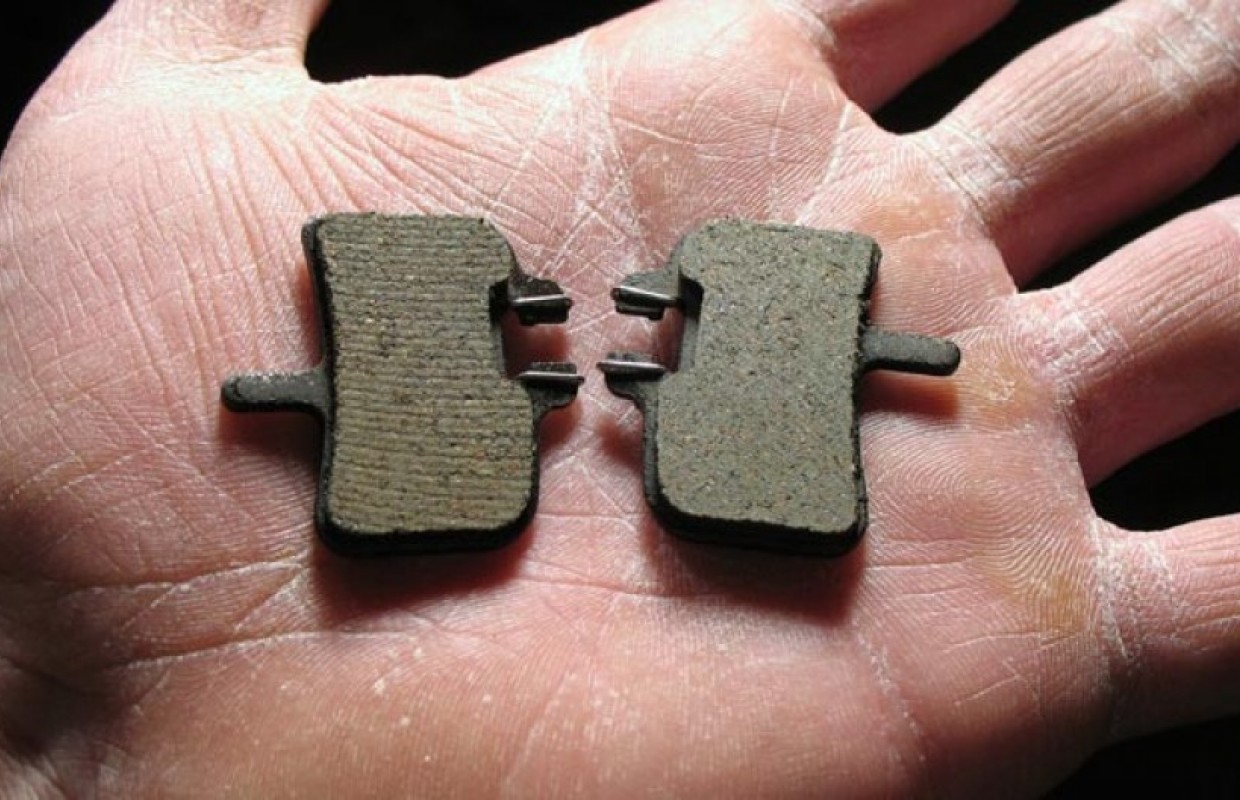
Step-by-step Guide: Cleaning Disc Brake Pads
Disc brakes use a metal rotor and pads made of resin, metal, or a mix. They are more sensitive to oil and require careful cleaning.
1. Remove The Wheel
Take off the wheel for easier access to the rotor and pads. If you touch the rotor, always use gloves to avoid oil from your skin.
2. Remove The Pads
Using the correct Allen wrench, remove the retaining pin or bolt. Slide the pads out carefully. Note their position for correct reinstallation.
3. Check For Contamination
Look for dark stains or oil on the pad face. Contaminated pads may smell like burnt oil. If you see heavy oil or grease, replacement is better than cleaning.
4. Clean The Pads
Hold the pad with pliers or gloves. Spray or dip a cloth in isopropyl alcohol, then scrub both sides of the pad. For stubborn grime, use a fine brush. If the pad is glazed, gently sand it until the surface is dull and even.
5. Clean The Rotor
Wipe the rotor with alcohol and a clean cloth. Never use lubricant or WD-40. Spin the rotor and check for warping.
6. Reinstall And Test
Replace the pads, re-fit the wheel, and pump the brake lever a few times to center the pads. Test by spinning the wheel and applying the brakes.
Expert insight: Disc pads contaminated by chain lube or hydraulic fluid are nearly impossible to save. Replacement is the safest choice.
How Often Should You Clean Bike Brake Pads?
Frequency depends on where and how you ride. Urban cyclists should clean pads monthly. Off-road or wet weather riders may need to clean them after every muddy or rainy ride. If you hear squeaking or feel weak braking, clean immediately.
Here’s a quick reference:
| Riding Condition | Recommended Cleaning Interval |
|---|---|
| Dry, clean roads | Every 4-6 weeks |
| Wet/muddy conditions | After every ride |
| Mountain biking | After every 2-3 rides |
| Daily commuting | Monthly |

Credit: www.youtube.com
Common Mistakes To Avoid
Even experienced riders make these errors:
- Using lubricants on pads or rotors. This destroys friction and makes brakes dangerous.
- Skipping the rim or rotor cleaning. Dirt moves back to your pads instantly.
- Touching pad surfaces with bare hands. Oils from skin reduce braking efficiency.
- Not removing embedded metal. This leads to rim scratches and noisy braking.
- Sanding pads too aggressively. This can damage the pad, making it unsafe.
Insider tip: Always wear gloves when handling brake components. Even a fingerprint can cause noise and loss of power.
When To Replace, Not Clean
Cleaning is not a cure-all. Replace pads if:
- They are worn below the minimum thickness (usually 1 mm).
- You see deep grooves or cracks.
- Pads remain noisy and weak after cleaning.
- Disc pads are soaked with oil or hydraulic fluid.
Manufacturers publish minimum thickness. Check your pad’s wear indicator or compare with a new pad.
Credit: www.youtube.com
Advanced Tips For Longer Brake Pad Life
Most guides stop at simple cleaning, but you can do more to extend pad life:
- Avoid riding through deep water or mud unless necessary. These conditions wear pads quickly.
- Check brake alignment each month. Pads should touch the rim or rotor flat, not at an angle.
- Clean new pads after bedding in. New pads can pick up factory oil during installation.
- Store your bike indoors to prevent moisture buildup on pads and rotors.
Comparing Cleaning Methods
Some cyclists wonder if special sprays or ultrasonic cleaners are worth it. Here’s a comparison:
| Method | Effectiveness | Cost | Best For |
|---|---|---|---|
| Isopropyl alcohol & brush | High | Low | Most riders |
| Dedicated brake cleaner spray | Very high | Medium | Disc brakes, frequent cleaning |
| Ultrasonic cleaner | Maximum | High | Workshops, pro riders |
| Soap and water | Medium (rim brakes only) | Low | Quick clean |
For most, isopropyl alcohol and a brush give the best balance of cost, safety, and performance.
Real-world Example: Cleaning Saves Money
Consider a commuter who rides 200 km per month. If brake pads are not cleaned, the average pad may last 800-1000 km. With monthly cleaning, it’s common to reach 1500 km before replacement is needed—a 50% increase. Over a year, that’s two fewer sets of pads, saving both money and time.
Environmental Note
Don’t throw used pads or cleaning rags in regular trash. Pads contain metal and chemicals. Many bike shops recycle them, or check your city’s hazardous waste guidelines.
Frequently Asked Questions
What Should I Do If My Brakes Still Squeak After Cleaning?
If brakes are still noisy, check for pad misalignment, glaze, or contamination. Sometimes, lightly sanding the pad and cleaning the rim or rotor again helps. Persistent squeaking may mean it’s time for new pads.
Can I Use Regular Degreaser To Clean Brake Pads?
No. Regular degreasers often leave oily residues that reduce braking power. Always use isopropyl alcohol or a dedicated brake cleaner for pads and rotors.
How Do I Know If My Pads Are Worn Out?
Check the thickness. If the pad material is less than 1 mm, or you see deep grooves, replace them. Most disc pads have a small wear line or indicator.
Is It Safe To Sand Bike Brake Pads?
Yes, but use fine sandpaper and only a few strokes to remove glaze or light contamination. Do not sand too much or you’ll reduce pad life.
Where Can I Learn More About Bike Brake Maintenance?
For more in-depth details, check Sheldon Brown’s Brake Guide, a trusted resource among cyclists.
Cleaning your bike’s brake pads may seem like a small task, but it’s one that greatly impacts your safety and riding enjoyment. With these steps, you’ll have powerful, quiet brakes and peace of mind on every ride. Regular care now means fewer repairs later and a smoother cycling experience.