Taking off bike grips seems simple, but for many riders, it can quickly turn into a frustrating, sticky mess. Grips get stuck, glue holds tight, and sometimes you just want to swap them out for a new color or a more comfortable feel.
Whether you ride mountain bikes, BMX, or a city commuter, knowing how to remove bike grips cleanly saves you time and avoids damage to your handlebars. This guide will walk you through everything you need to know about removing bike grips, no matter their type or condition.
You’ll learn the best tools, safest techniques, and discover little tricks that even experienced cyclists often miss.
Why Remove Bike Grips?
Bike grips are the main point of contact between your hands and the bike. Over time, they wear out, get slippery, or become uncomfortable. Replacing them can prevent accidents caused by poor grip and make your rides more enjoyable. Sometimes, you want to upgrade to lock-on grips, change the style, or simply clean your bars.
Removing old grips is the first step, and doing it right protects your handlebars and saves you from buying new grips too often.
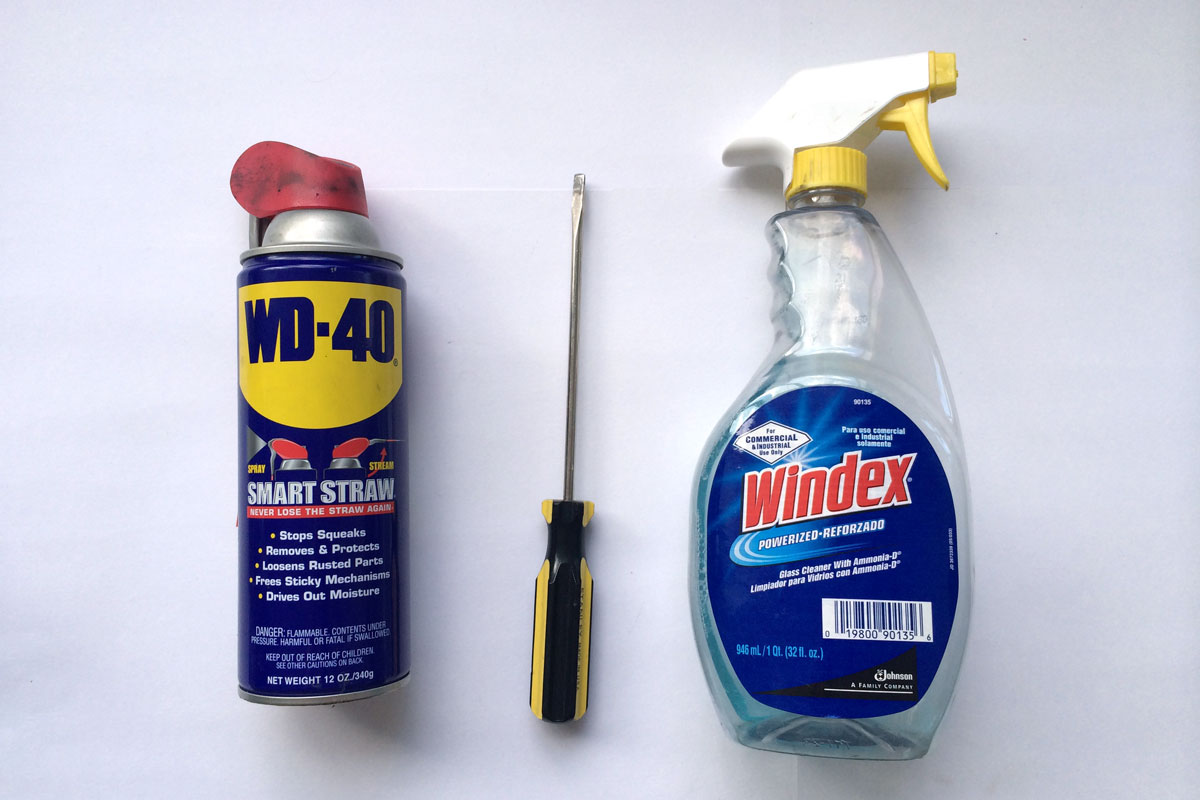
Tools And Materials You’ll Need
Before you start, make sure you have the right equipment. Using the correct tools makes the process smoother and avoids damaging your bike.
- Flathead screwdriver or a thin plastic pry tool
- Rubbing alcohol or water with soap (for lubrication)
- Air compressor (optional, but very effective)
- Utility knife (for old or glued grips you don’t want to keep)
- Clean rag
- Spray bottle (for applying liquid)
- Allen key set (for lock-on grips)
- Protective gloves (if using a knife)
Having these items ready saves time and reduces frustration, especially if the grips are stubborn or have been on the bike for years.
Understanding Different Types Of Bike Grips
Not all grips are created equal. The removal method often depends on the grip type and how they are attached.
| Grip Type | Attachment Method | Removal Difficulty |
|---|---|---|
| Slide-on (rubber/plastic) | Friction only | Easy-Moderate |
| Lock-on | Bolts at ends | Easy |
| Glued | Adhesive under grip | Hard |
| Foam | Friction, sometimes glue | Moderate |
| Leather/wrapped | Tape or adhesive | Hard |
Most modern bikes use slide-on or lock-on grips, but vintage or custom bikes might have glued or wrapped grips. Always check your grip type before starting.
Step-by-step Guide: How To Take Bike Grips Off
1. Remove Lock-on Grips
Lock-on grips are the easiest to remove. They have small bolts at the end or middle, usually tightened with a 2. 5mm or 3mm Allen key.
- Find the small bolts on the grip ends.
- Use the correct Allen key to loosen these bolts.
- Slide the grip off. If it feels stuck, wiggle gently or use a little rubbing alcohol to loosen.
- Wipe the handlebar clean before installing new grips.
Lock-on grips rarely leave residue, and you can reuse them if you wish.
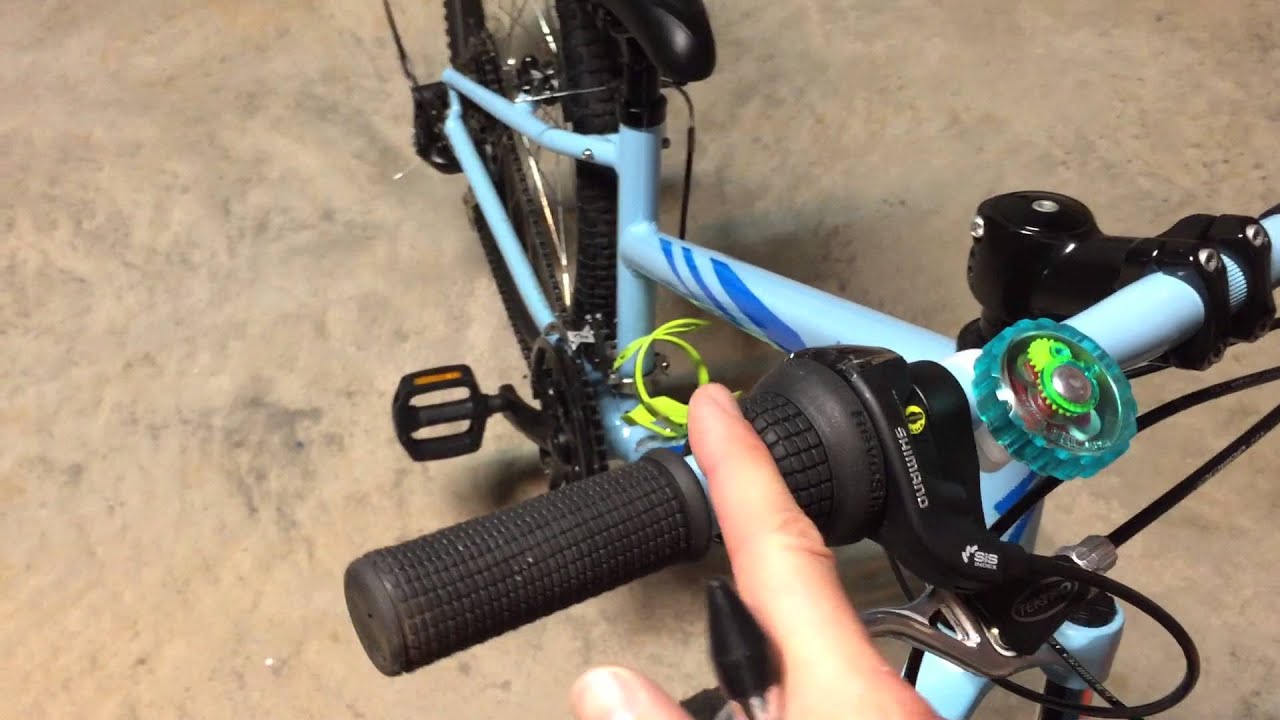
2. Remove Slide-on Rubber Or Foam Grips
These grips rely on friction and sometimes sweat or water to stay in place. They can be stubborn if they’ve been on the bike for years.
- Insert a flathead screwdriver or a thin plastic tool under the grip edge. Be gentle to avoid scratching the handlebar.
- Squirt a small amount of rubbing alcohol or soapy water under the grip. This acts as a lubricant and breaks the seal.
- Twist the grip back and forth while pulling outward. The grip should start sliding off. If not, add more lubricant.
- If the grip is really stuck, an air compressor can help. Insert the nozzle under the edge and give a short burst of air. The grip will usually pop off quickly.
Pro Tip: Rubbing alcohol evaporates quickly and won’t leave the handlebar slippery, making it the best choice for most bikes.
3. Remove Grips With Glue Or Tape
Older or custom bikes sometimes use glue to keep grips from spinning. Removing these grips can be tricky.
- Try the same method as for slide-on grips first: Insert a tool, add rubbing alcohol, and twist.
- If the grip does not budge, use a utility knife to cut along the length of the grip. Always cut away from your body and wear protective gloves to avoid injury.
- Peel the grip off slowly. Remove any leftover glue with rubbing alcohol and a rag.
Once grips are glued, they are often not reusable. Consider new grips when reinstalling.
4. Remove Grips Using Compressed Air
Many bike shops use compressed air because it is fast and safe for the handlebar.
- Insert the air nozzle under the edge of the grip.
- Give a few short bursts of air while pulling and twisting the grip.
- The grip should loosen and slide off easily.
This method works well for most grip types and is especially good for stubborn grips.
5. Removing Leather Or Wrapped Grips
Classic bikes sometimes have leather or bar tape wraps instead of normal grips.
- Find the end of the tape or wrap.
- Carefully unwind the tape. If glue was used, go slowly to avoid tearing.
- Remove any adhesive left on the bar with alcohol or a gentle solvent.
These wraps are usually one-time use, so plan to replace them after removal.
Common Mistakes To Avoid
Many riders damage their handlebars or waste time because of avoidable errors. Here’s what to watch for:
- Using too much force: This can bend lightweight bars or break plastic plugs.
- Cutting too deep: Using a knife can easily scratch or gouge alloy or carbon bars.
- Leaving residue: Not cleaning glue or sticky tape causes new grips to slip.
- Rushing: Take your time. Rushing increases the chance of injury or damage.
- Wrong tools: Don’t use sharp metal tools unless necessary. Plastic levers are safer for bars.
How To Clean Handlebars After Grip Removal
Once the grips are off, it’s important to clean the bars before installing new grips. Dirt, sweat, and glue can build up over time.
- Wipe down the bar with a clean rag.
- Use rubbing alcohol to remove any sticky residue. For stubborn glue, let the alcohol soak for a few minutes.
- Dry the bar completely before putting on new grips.
Clean bars help your new grips slide on smoothly and stay in place longer.

Credit: funnmtb.com
When Should You Replace Your Bike Grips?
You don’t have to wait until grips fall apart to replace them. Signs that it’s time for new grips include:
- Visible cracks or tears in the grip
- Grips feel sticky, even after cleaning
- You notice your hands slipping while riding
- Foam or rubber feels compressed and hard
Regular replacement keeps your ride comfortable and safe. Most casual riders should check grips every 6-12 months, while frequent cyclists may need to replace grips more often.
Tips For Installing New Grips
Getting new grips on can be almost as tricky as taking them off. These tips will make the process easier:
- For slide-on grips, use a little rubbing alcohol as a lubricant. It evaporates fast and won’t harm the bar.
- For foam grips, squeeze them gently while pushing them on.
- Lock-on grips need to be tightened evenly. Don’t overtighten the bolts or you might strip the threads.
- Let the bike sit for a few hours after installing so any moisture dries out.
If you’re curious about how different grip materials perform, here’s a quick comparison:
| Grip Material | Comfort | Durability | Ease of Removal |
|---|---|---|---|
| Rubber | Good | High | Easy |
| Foam | Excellent | Medium | Moderate |
| Leather | Very Good | Medium | Hard |
| Lock-on (rubber/plastic) | Good | Very High | Very Easy |
Credit: www.youtube.com
Safety Precautions
Taking off grips is usually safe, but a few points are worth remembering:
- Always cut away from your body if using a knife.
- Wear gloves to avoid cuts or scrapes.
- Don’t use harsh chemicals that can damage paint or carbon bars.
- If your handlebar is carbon fiber, avoid using metal tools or over-tightening bolts.
Two Insights Most Riders Miss
- Air compressors are the safest, fastest method for most grip removals. Many cyclists don’t realize how easy it is—if you have access to one, try it before reaching for a knife or screwdriver.
- Rubbing alcohol is better than soap or WD-40. Soap can leave residue, and WD-40 makes bars slippery. Rubbing alcohol lubricates during removal but evaporates, leaving a clean surface for new grips.
Credit: www.montaguebikes.com
When To Get Professional Help
Most grip removals are simple. However, if you have expensive carbon bars, extremely tight grips, or grips that simply won’t budge, consider visiting a bike shop. They have special tools and experience to avoid damage. It’s a small investment that can save a lot of frustration and protect your bike’s value.
For more in-depth bike maintenance advice, you can check the Sheldon Brown’s Bicycle Grip Guide.
Frequently Asked Questions
How Do I Remove Bike Grips Without Damaging The Handlebars?
Use a flat plastic tool or a flathead screwdriver and always lubricate with rubbing alcohol or soapy water. Avoid sharp metal tools unless you plan to cut the grip off and don’t reuse it. Twisting gently and pulling slowly helps prevent scratches.
Can I Reuse Bike Grips After Removing Them?
Yes, if the grips are not damaged and were not glued on. Slide-on and lock-on grips are often reusable if removed carefully. If you had to cut or stretch the grip significantly, it’s best to use new ones for safety.
What If My Grips Are Stuck And Won’t Come Off?
Try more lubricant and work the grip back and forth. If you have access to an air compressor, use a few blasts under the edge of the grip. As a last resort, carefully cut the grip off with a utility knife, but protect the handlebar.
Is It Safe To Use Wd-40 To Remove Bike Grips?
It is not recommended. WD-40 leaves a slippery residue that can make installing new grips difficult. Use rubbing alcohol instead, as it lubricates during removal but evaporates cleanly.
How Often Should I Change My Bike Grips?
Check your grips every 6-12 months. Replace them if they feel hard, sticky, torn, or if your hands start slipping during rides. Frequent riders or those who sweat a lot may need new grips more often.
Removing bike grips doesn’t have to be a battle. With the right tools, careful technique, and a little patience, you can swap out old grips for new ones without damaging your bike or your mood. Whether you’re upgrading for style or safety, following these steps ensures your handlebars stay in top shape for every ride.