Changing the stem on a bike may sound complicated, but with the right guidance, it is a straightforward process. Whether you want to adjust your riding position, upgrade to a lighter part, or replace a damaged stem, this task can be done at home with simple tools.
A new stem can dramatically change the comfort, handling, and performance of your bike. In this article, you will learn step-by-step how to change the stem on your bike, what tools you need, common mistakes to avoid, and tips for a safe, confident installation.
Why Change Your Bike Stem?
Before you start, it’s important to know why someone would change their bike’s stem. The stem connects your bike’s handlebars to the steering tube. Changing the stem can:
- Adjust your reach and height for better riding comfort
- Improve bike handling and control
- Suit your riding style, such as commuting, racing, or mountain biking
- Replace a worn-out or broken part
Even small adjustments in stem length or angle can have a big impact on how the bike feels.
Tools And Materials You Need
You don’t need a workshop full of tools. For most modern bikes, these are the essentials:
- Allen keys (hex wrenches), usually 4mm, 5mm, and sometimes 6mm
- Torque wrench (recommended for accurate tightening)
- Grease or assembly paste
- Rag or towel for cleaning
- New stem (make sure it fits your bike)
Optional:
- Carbon paste (for carbon fiber parts)
- Ruler or tape measure (for alignment)
- Bike stand (for easier work)
Double-check your new stem’s size. The steerer tube diameter is usually 1 1/8 inches (28.6mm), but some bikes use 1 inch (25.4mm). The handlebar clamp size is most often 31.8mm for modern bikes, but older bikes may use 25.4mm.
Types Of Bike Stems
Understanding the type of stem you have is important. Most modern bikes use threadless stems, but some older models use quill stems. Here’s a quick comparison:
| Stem Type | How to Identify | Common Uses |
|---|---|---|
| Threadless | Bolts clamp around steering tube; usually 1 1/8″ diameter | Most road, mountain, hybrid bikes made after 2000 |
| Quill | Inserted into steering tube; bolt tightens inside tube | Older road bikes, vintage city bikes |
This guide will focus on threadless stems as they are the most common today. The process for quill stems is different.
Steps To Change A Threadless Bike Stem
Follow these steps carefully for a safe and proper stem change.
1. Prepare Your Work Area
Choose a flat space with good lighting. If possible, use a bike stand to hold your bike steady. Gather all your tools and lay them out within reach.
2. Remove Accessories
Remove any accessories from your handlebars, such as lights, GPS units, or bells. This prevents damage and gives you more room to work.
3. Loosen The Stem Bolts
There are two sets of bolts to loosen:
- Faceplate bolts: These are at the front of the stem, holding the handlebars.
- Steerer tube clamp bolts: Located at the side or back of the stem, clamping it to the steering tube.
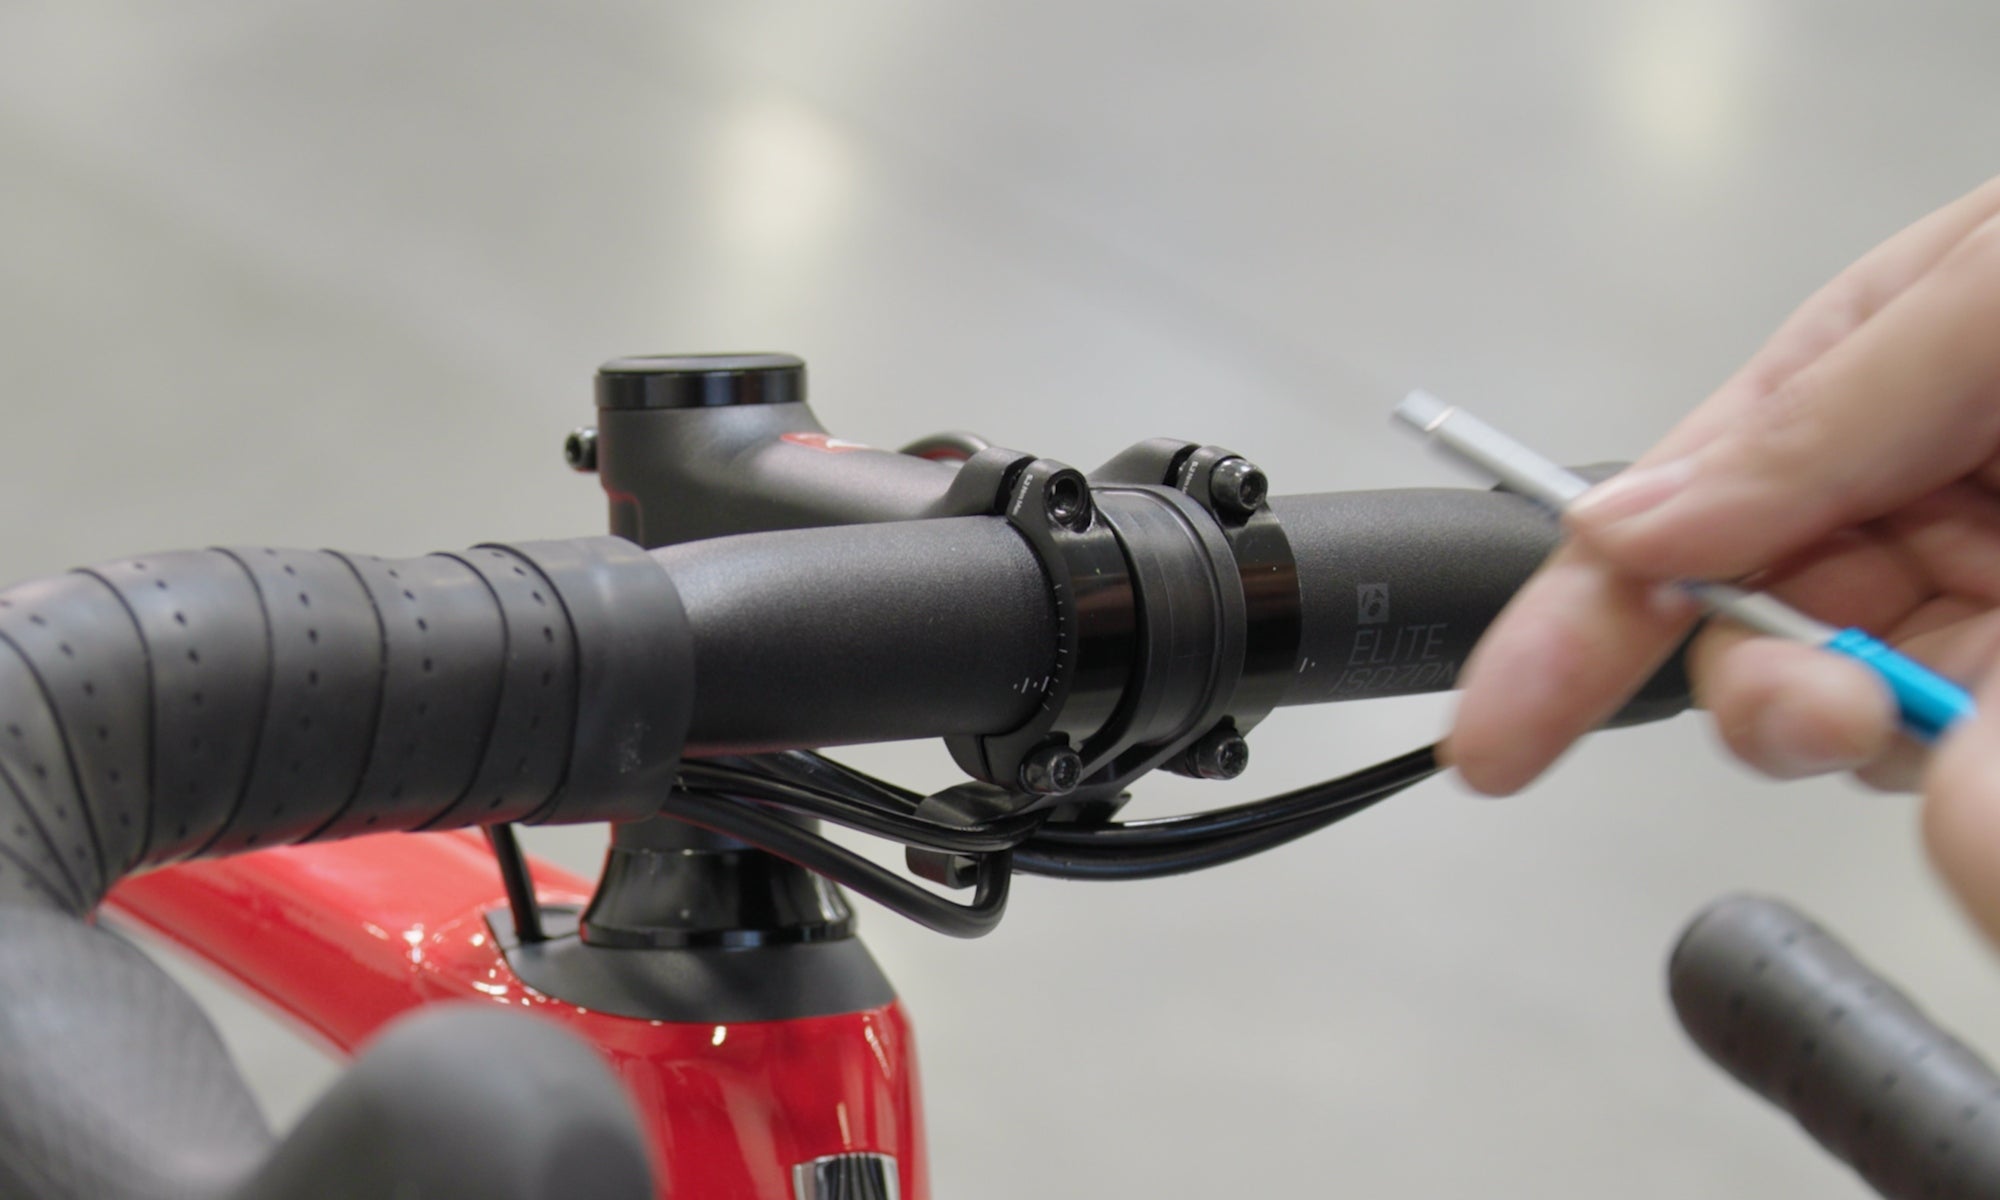
Use the correct Allen key. Start with the faceplate bolts. Loosen them evenly, a little at a time, moving from one bolt to the next in a cross pattern. Remove the faceplate and set it aside. Carefully let the handlebars hang or rest on the frame (use a towel to prevent scratches).
Next, loosen the steerer tube clamp bolts. Do not fully remove them yet.
4. Remove The Top Cap
At the top of the stem is the top cap and a bolt in the center. This sets the bearing preload. Use an Allen key to remove the top cap and bolt. Set them aside.
5. Take Off The Old Stem
Slide the stem up and off the steering tube. If it doesn’t move easily, check that all bolts are fully loose. Gently wiggle the stem if needed, but don’t use force.
At this point, you may see spacers above or below the stem. Note their position, as you’ll need to replace them in the same order.
6. Fit The New Stem
Slide the new stem onto the steering tube. Place any spacers back in their original positions. The top of the stem (or spacers) should sit 2–3mm below the top of the steering tube for correct bearing adjustment.
If the new stem is higher or lower than the old one, you may need to move some spacers. Never stack too many spacers above the stem—this can weaken the system.
7. Install The Top Cap
Place the top cap back on and thread in the bolt. Tighten it gently—just enough to remove any play from the headset. Do not overtighten; you are not trying to lock the stem, just preload the bearings.
8. Align The Handlebars
Before tightening the stem clamp bolts, make sure your handlebars are straight and aligned with the front wheel. Stand over the bike, look down the stem, and make fine adjustments. A ruler or tape measure can help for precise alignment.
9. Tighten The Stem Bolts
Tighten the steerer tube clamp bolts evenly. Use a torque wrench to reach the torque setting specified by the stem manufacturer (usually 5–6 Nm). Overtightening can damage the stem or tube.
Next, place the handlebars in the new stem. Replace the faceplate, tightening the bolts in a cross pattern. Again, use a torque wrench if possible. Even pressure is important to avoid crushing the handlebars.
10. Reinstall Accessories And Test
Reattach all accessories to your handlebars. Check that everything is in the correct place. Pick up the front of the bike and turn the bars left and right to make sure they move smoothly and there is no play in the headset.
Take the bike for a short test ride. Check the alignment and tightness of all bolts after a few minutes of riding.
Credit: www.theproscloset.com
Common Mistakes To Avoid
Even experienced cyclists make errors when changing stems. Avoid these pitfalls:
- Overtightening bolts: This can damage the stem, handlebars, or steering tube, especially on carbon parts.
- Misaligning handlebars: Small misalignments can cause discomfort and handling issues.
- Incorrect spacer placement: The top cap must press down on the stem, not just spacers.
- Forgetting grease: A little grease or assembly paste on bolts and between spacers prevents corrosion and seizing.
- Ignoring torque specs: Manufacturers list the recommended torque for each bolt. Always follow these for safety.
How Stem Length And Angle Affect Your Ride
When choosing a new stem, it’s not just about looks. The length and angle of your stem will change your bike’s fit and feel.
| Stem Feature | Effect on Ride |
|---|---|
| Longer stem | Puts rider in a more stretched, aerodynamic position; sharper steering |
| Shorter stem | Upright, comfortable position; more responsive, stable at low speeds |
| Higher angle (rises up) | Raises handlebars, increases comfort for casual riding |
| Lower angle (drops down) | Lowers handlebars, better for racing/aggressive riding |
Test different lengths and angles if possible. Most riders use stems between 70mm and 120mm in length and 6 to 17 degrees in angle. If you’re unsure, visit a professional bike fitter.

Credit: www.theproscloset.com
Threadless Vs. Quill Stem: Key Differences
To understand the process better, here’s a side-by-side look at threadless and quill stems:
| Feature | Threadless Stem | Quill Stem |
|---|---|---|
| Adjustment | Spacer-based, limited up/down movement | Height easily adjusted up/down |
| Common on | Modern bikes | Vintage/older bikes |
| Removal process | Remove top cap and clamp bolts | Loosen center bolt, pull up |
| Strength and stiffness | Higher, better for performance bikes | Lower, more flexible |
If you have a quill stem, the process is different. You loosen the center bolt, tap it to release the wedge, and pull the stem up. Quill stems are less common on bikes made after the year 2000.
Safety Tips And Best Practices
- Check bolt tightness after your first ride, as parts may settle.
- Never use damaged parts. If you see cracks or deep scratches, replace the stem or handlebars immediately.
- Use a torque wrench for all bolts, especially on carbon or lightweight alloy parts.
- Don’t ignore headset play. If you feel a knock or looseness, recheck the top cap adjustment.
- Match stem and handlebar sizes. Forcing mismatched sizes can be dangerous.
Many riders overlook the importance of regular inspection. Check your stem and bolts every few months—especially if you ride on rough roads or trails.

Credit: www.youtube.com
Upgrading To A Carbon Stem
Some cyclists want to upgrade to a carbon fiber stem for weight savings and improved ride feel. Carbon parts require special care:
- Always use a torque wrench. Carbon can be crushed by overtightening.
- Apply carbon assembly paste (not regular grease) to prevent slipping.
- Use only handlebars and forks rated for use with carbon stems.
Carbon stems are lighter but often more expensive and less tolerant of improper installation. If you’re unsure, ask a professional mechanic.
When To See A Bike Mechanic
While most home mechanics can change a stem, you should visit a shop if:
- You lack the correct tools (especially a torque wrench)
- You see damage or cracks on the steering tube or handlebars
- You have a carbon steerer tube and are not confident with the process
- You cannot adjust out headset play or the steering feels rough after installation
A good mechanic can also help you select the ideal stem for your body and riding goals.
Frequently Asked Questions
What Size Stem Should I Buy For My Bike?
Measure your steerer tube diameter (most are 1 1/8″ or 28.6mm) and your handlebar clamp size (most modern bars are 31.8mm). Match both numbers when you buy a new stem. If you are not sure, check your bike’s manual or ask a shop.
Can I Use Any Stem On Any Bike?
No. Stems come in different sizes and designs for different bikes. Using the wrong size can be dangerous. Always match the steerer tube and handlebar clamp sizes. Road, mountain, and hybrid bikes may use different angles and lengths.
How Tight Should The Stem Bolts Be?
Always follow the torque settings printed on the stem or in the instructions. For most stems, this is 5–6 Nm for each bolt. Too loose can cause slipping; too tight can damage parts. Use a torque wrench for safety.
Do I Need To Replace My Spacers When Changing The Stem?
Not usually. You can reuse your spacers unless they are damaged or you are changing the stem height a lot. Spacers help adjust height and fill the gap above and below the stem. Always make sure the top cap can press down on the stem.
Where Can I Find More Details On Bike Stem Installation?
For more technical details and pictures, visit the official Wikipedia page on bicycle stems. This source explains all types and includes diagrams.
Changing a bike stem is a practical skill that gives you more control over your bike’s fit and comfort. By following these steps, using the right tools, and paying attention to detail, you can upgrade or adjust your stem with confidence.
Take your time, double-check your work, and enjoy the improved ride position on your next outing.