Every bike rider knows the feeling of excitement when the engine starts smoothly and the ride feels powerful. But sometimes, after months of use, your bike starts to sputter, stalls, or struggles to accelerate. In most cases, the problem is with the carburetor—the part that mixes air and fuel before sending it to the engine. Cleaning your bike’s carburetor is a skill every rider should learn. It saves money, keeps your bike running at its best, and avoids frustrating trips to the mechanic.
Many new riders think cleaning the carburetor is complex or risky. But with the right approach, tools, and patience, you can do it yourself. This guide explains every step, from understanding the carburetor, signs it needs cleaning, tools required, safety tips, and a detailed cleaning process.
You’ll also learn common mistakes, extra tips for better results, and answers to the most frequent questions. Let’s get started and make your bike’s carburetor shine like new.
What Is A Carburetor And Why Does It Matter?
The carburetor is a key part of older bikes and many modern models in Asia and Africa. It controls how much air and fuel mix together before entering the engine. If the carburetor is dirty or blocked, the engine cannot burn fuel efficiently. This leads to:
- Poor acceleration
- Hard starting
- Low fuel efficiency
- Black smoke from exhaust
Carburetors are made with small jets, passages, and moving parts. Dust, fuel residue, or even water can block these parts. Cleaning removes these blockages and restores smooth engine performance.
Signs Your Carburetor Needs Cleaning
Many riders ignore early signs until the bike stops working. Watch for these symptoms:
- Hard starting – The engine struggles to start, especially when cold.
- Poor idling – The bike doesn’t stay running at low speed or stalls often.
- Reduced power – The bike feels slow and lacks acceleration.
- Engine misfiring – You hear popping or the engine hesitates.
- Black smoke – The exhaust releases dark smoke, showing excess fuel.
- High fuel consumption – The bike uses more petrol than usual.
- Unusual engine sound – There is a rough noise, not the normal smooth sound.
If you notice two or more signs, it’s time to clean the carburetor.

Credit: www.instructables.com
Tools And Materials Needed
Before starting, gather these tools. Having everything ready will save time and prevent mistakes.
- Screwdrivers (flat and Phillips)
- Socket set
- Wrench
- Needle-nose pliers
- Carburetor cleaner spray
- Compressed air can or compressor
- Clean rags
- Small brush (old toothbrush works)
- Plastic container
- Gloves
- Safety goggles
Optional but helpful:
- Gasket kit (if your carburetor has worn gaskets)
- Small picks or wires (for cleaning jets)
- Service manual (for your bike model)
Safety Tips Before Cleaning
Carburetor cleaning involves chemicals and small parts. Follow these safety tips:
- Work in a well-ventilated area. Carburetor cleaner is strong and unhealthy to breathe.
- Wear gloves and goggles to protect skin and eyes.
- Keep fire away. The cleaner is flammable.
- Take photos during disassembly. This helps you remember how parts fit.
- Place small parts in a container. Losing a jet or spring can make your bike unusable.
Step-by-step Carburetor Cleaning Guide
Follow these steps carefully for best results. Each step is important—don’t skip any.
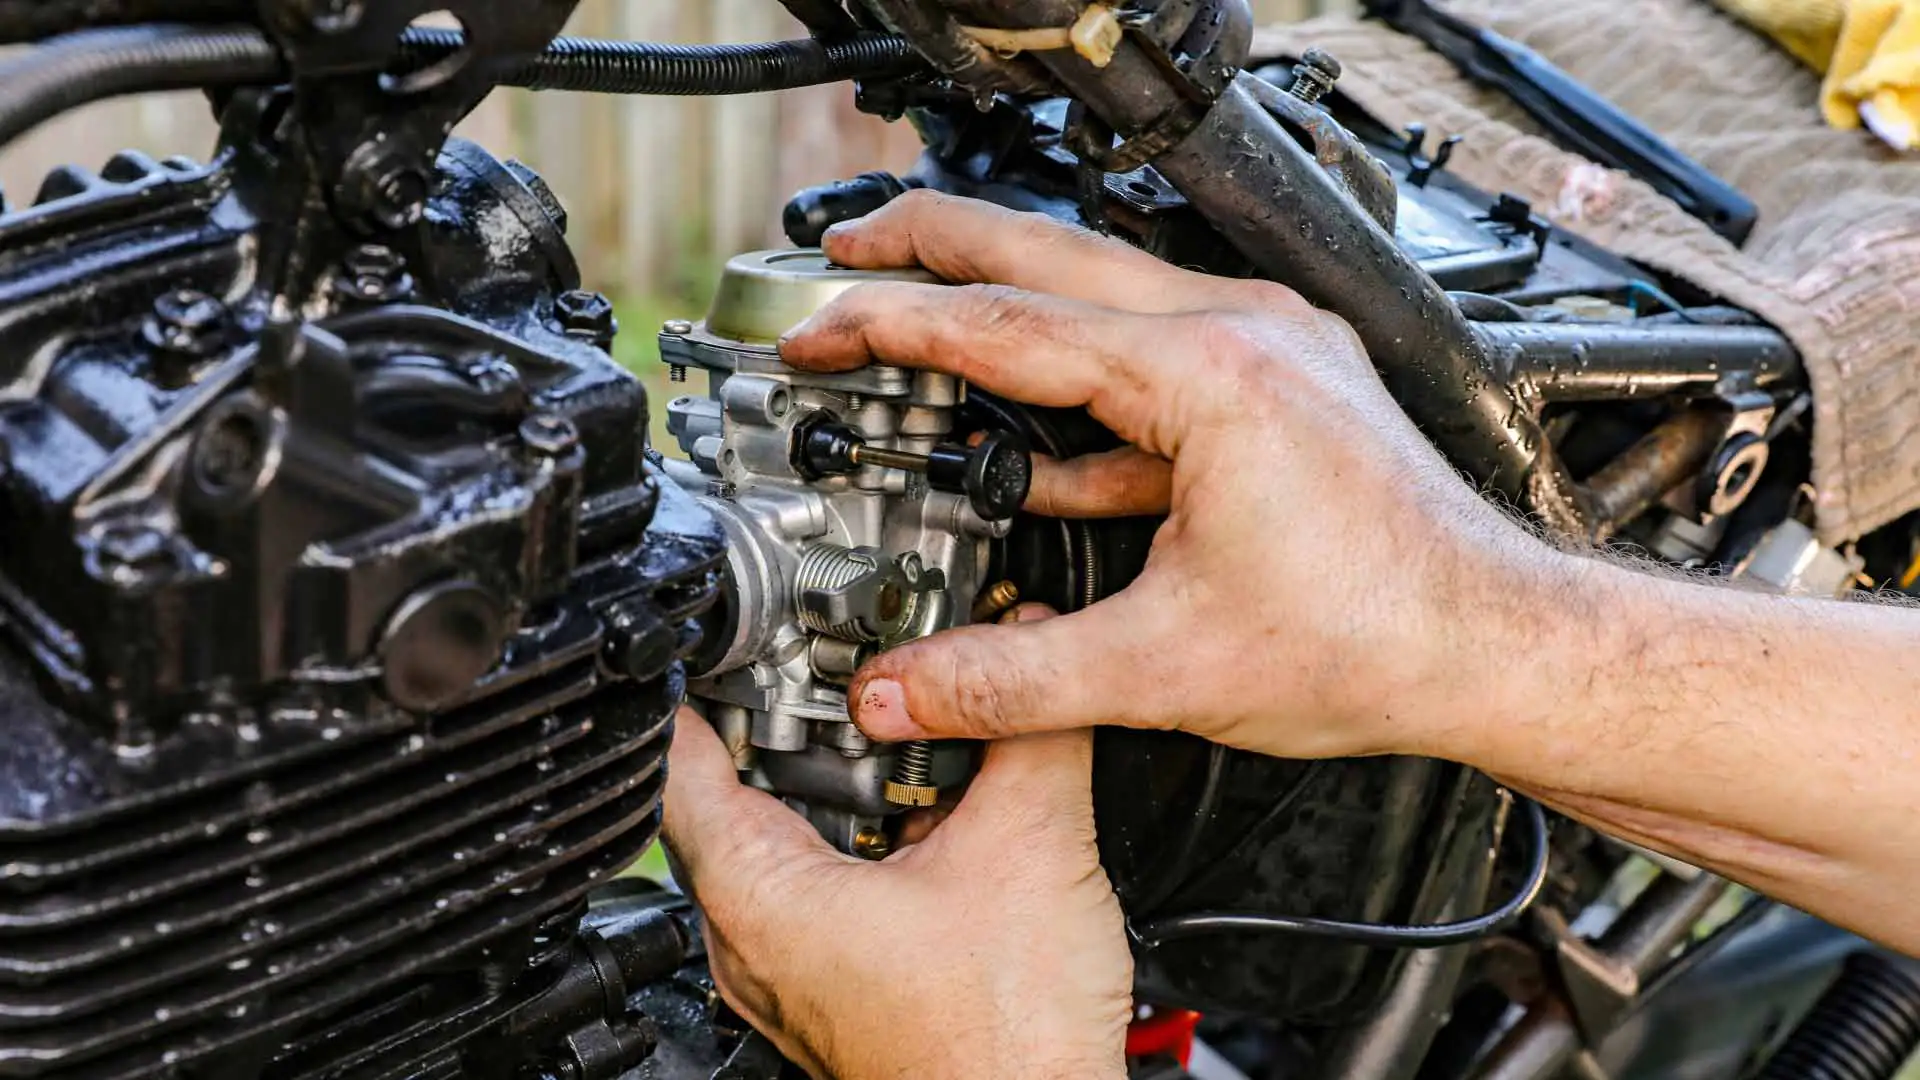
1. Remove The Carburetor
First, make sure the engine is cool. Turn off the fuel supply (usually a petcock valve). Remove the seat and side panels if needed for access.
- Disconnect the fuel line from the carburetor.
- Unscrew the carburetor from the intake manifold.
- Remove the throttle cable and choke cable (if present).
- Carefully lift the carburetor out.
Take a photo before you start. This will help you later.
2. Disassemble The Carburetor
Place the carburetor on a clean rag. Begin disassembly:
- Remove the float bowl (bottom cover) with a screwdriver.
- Take out the float and float pin.
- Unscrew the main jet and pilot jet.
- Remove any rubber gaskets (replace if worn).
- Separate the diaphragm, needle, and other parts.
Place each part in a container. Keep them organized to avoid confusion.
3. Clean All Parts
Spray carburetor cleaner on every part. Use a brush to scrub away dirt and residue. For small jets and passages:
- Insert a thin wire or pick to clear blockages.
- Spray cleaner through the jets.
- Use compressed air to blow out remaining debris.
Never use sharp metal tools that can damage jets.
4. Check For Wear And Damage
Inspect the float, needle, jets, and gaskets. If any part looks worn, cracked, or damaged, replace it. A damaged gasket can cause fuel leaks.
Here’s a quick comparison of common carburetor parts and signs of wear:
| Part | Sign of Wear | Recommendation |
|---|---|---|
| Float | Cracks, fuel inside | Replace |
| Needle | Bent, corroded | Replace |
| Jets | Blocked, damaged | Clean or replace |
| Gaskets | Hard, cracked | Replace |
5. Clean Carburetor Body
Spray cleaner into all holes and passages of the carburetor body. Use compressed air to blow out residue. Focus on:
- Air intake passage
- Fuel passage
- Idle circuit
- Main jet passage
If the passage is blocked, your engine will not run correctly.
6. Reassemble The Carburetor
After cleaning and drying all parts, start reassembly:
- Install jets, needle, and float.
- Fit new gaskets if needed.
- Attach float bowl.
- Connect any springs or clips.
Use your earlier photo to check each step.
7. Reinstall The Carburetor
Place the carburetor back in the bike:
- Attach throttle and choke cables.
- Connect the fuel line.
- Screw carburetor to intake manifold.
- Turn on fuel supply.
Check for leaks. If everything looks good, you can test the engine.
8. Test The Engine
Start the bike. It should fire up easily and idle smoothly. Check these points:
- Does the engine start easily?
- Is the idling smooth?
- Is acceleration strong?
- Is there any black smoke from the exhaust?
If the bike runs poorly, double-check that jets and passages are clear and parts are reassembled correctly.
Common Mistakes When Cleaning Carburetor
Many new riders make mistakes. Avoid these for the best results:
- Skipping parts – Not cleaning every jet or passage.
- Damaging jets – Using sharp tools that scratch or widen jets.
- Losing small parts – Not keeping parts organized.
- Not checking gaskets – Using old, cracked gaskets leads to leaks.
- Over-tightening screws – This can crack the carburetor body.
Take your time and follow the steps.

Credit: www.youtube.com
Tips For Better Carburetor Cleaning
Here are extra tips many beginners miss:
- Use a service manual for your bike. It shows carburetor diagrams and torque specs.
- If the carburetor is very dirty, soak it in carburetor cleaner for 1–2 hours.
- Clean the air filter at the same time. A dirty filter brings dust into the carburetor.
- If your bike uses ethanol fuel, clean the carburetor more often. Ethanol attracts water and causes corrosion.
Here’s a quick table comparing cleaning frequency for different bikes:
| Bike Type | Fuel Type | Cleaning Frequency |
|---|---|---|
| Older bikes | Regular petrol | Every 12 months |
| Modern bikes | Ethanol blend | Every 6–8 months |
| High-mileage bikes | Any fuel | Every 6 months |
When To Seek Professional Help
Not every problem can be fixed by cleaning. If you notice:
- Major fuel leaks even after gasket replacement
- Engine won’t start after cleaning
- Broken carburetor body
- Complex electronic carburetors
Visit a qualified mechanic. Some carburetors have electric sensors or complex parts. It’s better to let experts handle these.
Real-world Example: A Rider’s Experience
Rajiv, a college student in India, noticed his bike used more fuel and stalled at traffic lights. He followed the steps above, found a blocked pilot jet, and cleaned it. The bike ran smoothly again and fuel efficiency improved by 25%.
He learned that regular cleaning every 12 months prevents most carburetor problems.
Data: Carburetor Cleaning Vs. Fuel Injector Cleaning
Many people ask how carburetor cleaning compares to fuel injector cleaning. Here’s a table showing the main differences:
| Feature | Carburetor Cleaning | Fuel Injector Cleaning |
|---|---|---|
| Cost | Low (DIY possible) | Higher (needs mechanic) |
| Skill level | Medium | High |
| Frequency | Every 6–12 months | Every 12–24 months |
| Parts involved | Jets, float, bowl | Injector nozzle |
Extra Insight: Why Regular Carburetor Cleaning Matters
Most riders think cleaning is only needed when the bike stalls. But a clean carburetor:
- Keeps fuel efficiency high
- Prevents engine damage
- Reduces harmful emissions
By cleaning once a year, you avoid expensive repairs and keep your bike reliable.
Frequently Asked Questions
How Often Should I Clean My Bike’s Carburetor?
Most bikes need cleaning every 12 months. If you use ethanol fuel or ride in dusty areas, clean every 6–8 months.
Can I Clean The Carburetor Without Removing It?
It’s possible but not recommended. Cleaning in place misses blocked jets and passages. Removing allows full cleaning.
What Is The Best Carburetor Cleaner?
Use a branded carburetor cleaner spray. Brands like WD-40, Liqui Moly, or local options work well. Avoid household cleaners—they don’t dissolve fuel residue.
How Do I Know If Jets Are Clean?
Look through each jet. You should see light passing through, and no blockage. Spray compressed air—if air flows easily, the jet is clean.
Is Carburetor Cleaning Safe For Beginners?
Yes, if you follow steps, use proper tools, and keep parts organized. Take photos and work slowly. If unsure, ask for help.
Cleaning your bike’s carburetor is one of the best skills you can learn. It saves money, keeps your bike running strong, and builds confidence. With the right tools, patience, and guidance, anyone can do it. For more technical details, check out Wikipedia’s Carburetor page. Now, take charge of your bike’s health—and enjoy every smooth ride.
Credit: www.shopmonkey.io