Cycling can bring a lot of joy, but nothing ruins a ride faster than a troublesome bike saddle. Whether you’re dealing with a wobbly seat, one that’s too high or low, or a saddle that keeps tilting, these issues can make your journey uncomfortable and even cause pain or injury. The good news is, fixing your bike saddle is often simple and can be done with basic tools at home. Let’s walk through how to solve common saddle problems, how to adjust your seat for comfort and performance, and what to do when your saddle is damaged.
Understanding Common Saddle Problems
Before you start fixing, it helps to know what might be wrong. The most frequent saddle issues include:
- Loose or wobbly saddle
- Saddle slipping or tilting
- Incorrect saddle height
- Uncomfortable saddle position
- Squeaking noises
- Broken saddle rails
- Worn out or torn saddle cover
Recognizing these problems early prevents bigger issues and helps you enjoy cycling more. Now, let’s break down how to fix each one.
Tools You’ll Need
Most saddle fixes require only a few basic tools. Having these on hand makes the process quick and smooth:
- Allen (hex) keys: Most saddles use 5mm or 6mm sizes.
- Adjustable wrench: For older bikes or non-standard bolts.
- Lubricant: For squeaks and rusted bolts.
- Rag or cloth: To clean parts.
- Replacement parts: Only if your saddle or rails are damaged.
Some newer saddles may use special bolts, so check your bike manual if unsure.
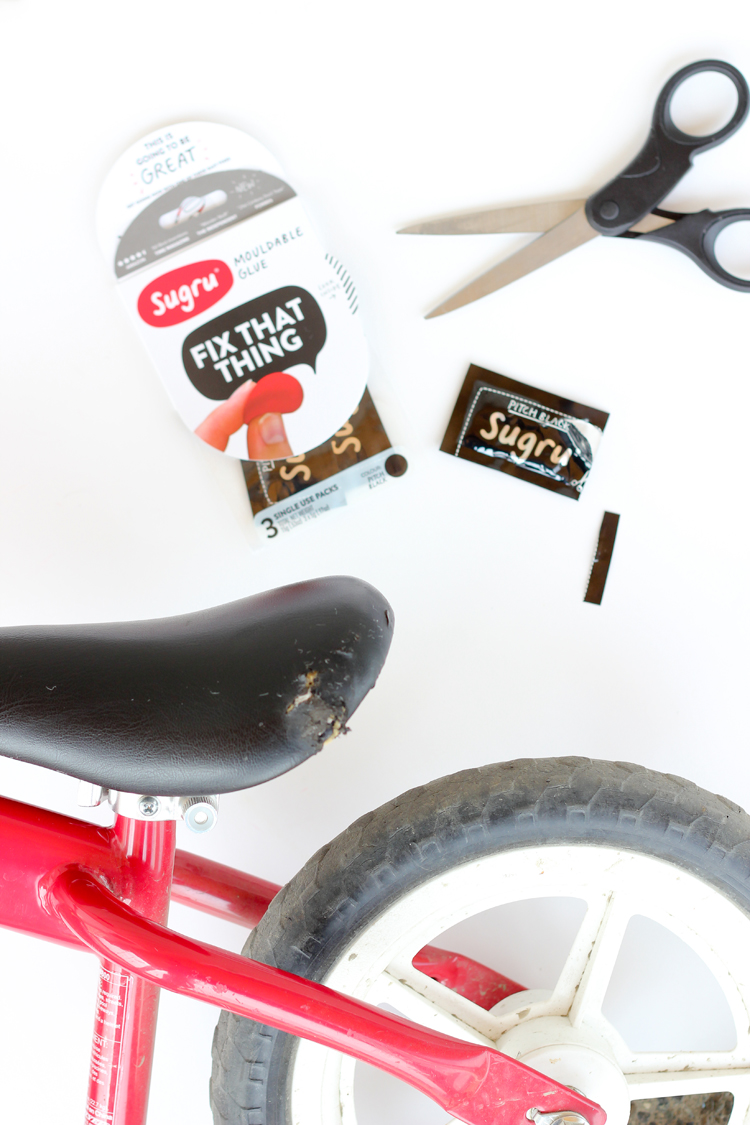
Credit: www.deliacreates.com
How To Fix A Loose Or Wobbly Saddle
A saddle that moves side-to-side or up and down is not just annoying—it’s unsafe. Here’s how to secure it:
- Locate the saddle clamp under your seat. This holds the rails to the seatpost.
- Tighten the clamp bolt using the right size Allen key or wrench. Turn until snug, but don’t overtighten—this can damage the rails.
- Test by wiggling the saddle. If it still moves, retighten.
- If the bolt won’t tighten, check for stripped threads or worn parts. Replace them if needed.
Non-obvious insight: Sometimes, old grease or dirt inside the clamp can prevent it from holding tight. Wipe the area clean before reassembling.
Adjusting Saddle Height For Comfort
Riding with the wrong saddle height can cause knee pain, fatigue, or make pedaling hard. Here’s a step-by-step way to set it correctly:
- Wear your cycling shoes.
- Stand next to your bike and lift your leg over.
- Sit on the saddle and place your heel on the pedal at the lowest point (6 o’clock position).
- Your leg should be straight in this position. If your knee bends, the saddle is too low. If your heel cannot touch the pedal, it’s too high.
- Adjust by loosening the seatpost clamp (usually with an Allen key) and raising or lowering the seat.
- Tighten the clamp and recheck your position.
Extra tip: If you ride for long periods, a slightly lower saddle can help avoid hip rocking and back pain.
Fixing A Tilting Or Slipping Saddle
A saddle that tilts forward or backward can cause discomfort or make you slide while riding. To fix:
- Identify the angle adjustment bolt—this is often the same bolt as the clamp or a separate one under the saddle.
- Loosen the bolt just enough to move the saddle.
- Level the saddle so it is parallel to the ground, or tilt slightly nose-down for comfort (never nose-up).
- Retighten firmly and double-check by sitting and gently rocking.
- If the saddle keeps slipping, the clamp teeth may be worn. These can be replaced, but sometimes you’ll need a new seatpost or clamp.
Setting The Saddle Fore-aft (front-back) Position
Many riders forget about fore-aft adjustment, but it’s key for knee health and performance.
- Sit on your bike (ask a friend to hold it steady).
- Place pedals horizontally (3 and 9 o’clock).
- Drop a plumb line (or use a string with a weight) from just below your kneecap. It should pass through the pedal axle.
- If not, slide the saddle forward or backward along the rails.
- Tighten the clamp and test again.
Pro tip: Small changes make a big difference. Move the saddle in 5mm steps and test.
Solving Squeaking Saddle Noises
Squeaks usually come from friction between metal parts. Here’s how to quiet them:
- Remove the saddle by loosening the clamp.
- Clean the rails and clamp with a dry cloth.
- Apply a thin layer of bike grease to the rails where they contact the clamp.
- Reinstall and tighten the saddle.
If the noise remains, check for cracks or loose bolts elsewhere.
Non-obvious insight: Squeaks can also come from the seatpost inside the frame. Grease the post if needed.
Repairing A Torn Or Worn Saddle Cover
A torn saddle isn’t just ugly—it can soak up water and tear clothing. Here’s what to do:
- Small tears: Use strong tape (like duct tape) on the underside for a quick fix.
- Larger tears: Saddle covers are sold online and in stores. Slip one over for instant comfort and protection.
- DIY fix: Patch with vinyl repair kits if you want a neater look.
- Badly worn saddles: Replacement is usually the smartest choice.
Extra tip: Avoid riding with a wet or ripped saddle—it can lead to rust or mold inside.
Fixing Broken Or Bent Saddle Rails
If you crash or drop your bike, the thin metal rails under your saddle can bend or snap. Riding with damaged rails is unsafe. Here’s what to do:
- Remove the saddle and inspect the rails.
- If bent slightly, you may try to straighten with pliers, but this weakens the metal and is not recommended for long-term use.
- If a rail is cracked, replace the saddle.
- Check compatibility: Not all saddles fit all seatposts. Most modern rails are 7mm round, but some are oval or carbon.
Here’s a quick look at rail types you might find:
| Rail Type | Material | Common Size | Notes |
|---|---|---|---|
| Standard round | Steel/Chromoly | 7mm | Fits most bikes |
| Oval | Carbon | 8x10mm | Needs special clamp |
| Titanium | Titanium | 7mm | Lighter, expensive |
If in doubt, take your old saddle to a bike shop to match the new one.
When And How To Replace Your Saddle
Sometimes, fixing isn’t enough. Here are signs it’s time for a new saddle:
- Deep cracks or broken rails
- Foam is compressed flat
- Large, deep tears in cover
- Uncomfortable even after adjusting
When buying a new saddle, consider:
- Width: Your sit bones should rest on the padding. Wider is not always better.
- Shape: Some are flat, others curved. Test a few if possible.
- Padding: More isn’t always best; too soft can cause numbness.
Here’s a comparison of saddle types:
| Saddle Type | Best For | Main Feature |
|---|---|---|
| Racing | Performance cycling | Lightweight, minimal padding |
| Comfort | Casual riding | Wide, thick padding |
| Touring | Long rides | Medium width, durable cover |
| Gel | Short city rides | Very soft, absorbs shock |
Common mistake: Many new cyclists buy the softest saddle they can find, but this often leads to more discomfort. It’s better to find the right shape for your body.

Credit: www.ifixit.com
How To Prevent Saddle Problems
A little care can stop saddle troubles before they start. Here’s how:
- Check bolts monthly for tightness.
- Wipe down after wet rides to prevent rust.
- Use a cover if you store your bike outdoors.
- Grease moving parts once a season.
- Test adjustments after any crash or bump.
Extra Tips For Ultimate Comfort
- Use padded shorts: These reduce friction and cushion your seat bones.
- Don’t tilt nose-up: This often causes numbness or pain.
- Adjust in small steps: Big changes can hurt your knees or hips.
- Try before you buy: Some shops let you test saddles—take advantage.
- Pay attention to numbness: If you notice tingling, adjust immediately.

Credit: www.youtube.com
Example: A Real Fix In Action
Let’s say your saddle keeps tilting mid-ride. Here’s how you’d fix it:
- You stop and use your 6mm Allen key to loosen the angle bolt.
- You level the saddle using your eye or a small bubble level app on your phone.
- You tighten the bolt more firmly than before.
- You test by sitting and rocking side-to-side. No more movement.
- If it slips again next ride, you check the clamp teeth. They’re worn, so you buy a new clamp for $10 and install it, fixing the issue for good.
Where To Get More Help
If you’ve tried all these steps and still have problems, your local bike shop can help. They see saddle issues every day and can spot problems you might miss. For more technical information, see Wikipedia’s Bicycle Saddle page.
Frequently Asked Questions
How Tight Should My Saddle Bolts Be?
Saddle bolts should be snug but not overtightened. Usually, 8-10 Nm of torque is enough (if you have a torque wrench). If you don’t, use firm hand pressure—if the saddle doesn’t move when you push hard, it’s tight enough.
Why Does My Saddle Keep Slipping Even After Tightening?
Slipping saddles can be caused by worn clamp teeth, grease or oil on the rails, or a stripped bolt. Clean the area, check for damage, and replace any worn parts as needed.
What’s The Best Saddle Position For Comfort?
The best position is usually level or with the nose slightly down. Your knees should be slightly bent at the bottom of the pedal stroke, and your sit bones should rest on the widest part of the saddle.
How Do I Know If My Saddle Is Too High Or Too Low?
If your hips rock side to side or you can barely reach the pedals, it’s too high. If your knees bend a lot at the bottom of the stroke, it’s too low. Adjust so your leg is almost straight when your heel is on the pedal at the lowest point.
Can I Fix A Broken Saddle Rail Myself?
You can try to bend a slightly bent rail back, but this weakens the metal and is risky. If a rail is cracked or badly bent, always replace the saddle for safety.
Repairing and adjusting your bike saddle doesn’t have to be tricky. With a little knowledge and the right tools, you can enjoy a comfortable, safe ride every time. Pay attention to small problems before they become big ones, and don’t be afraid to ask for help if you need it.
Happy cycling!