Replacing a bike stem might look difficult at first, but it’s a practical skill every cyclist should know. Whether you want to adjust your riding position, upgrade to a lighter stem, or fix damage from a crash, the process is more straightforward than you might imagine.
With the right tools, some patience, and attention to detail, you can replace your stem and enjoy a more comfortable or responsive ride. Many beginners worry about making mistakes during this process, but with clear steps and a few insights, you’ll be able to do the job confidently and safely.
Understanding The Bike Stem
The bike stem is a small but important part. It connects your handlebars to the steerer tube of your front fork. The stem’s length and angle affect how you sit and control your bike. A longer stem stretches you out, while a shorter one makes your position more upright and the steering quicker. If you feel pain in your back, neck, or hands, or if you want to change your bike’s handling, swapping the stem is a good place to start.
There are two main types of stems:
- Threadless stem: Most modern bikes use this. It clamps onto the outside of the fork steerer tube.
- Quill stem: Found on older bikes, this slides inside the steerer tube and tightens with a single bolt.
This article will focus mainly on threadless stems, as they are the most common today.
Tools And Materials You’ll Need
Getting the right tools ready before starting will make the process smooth and safe. Here’s what you’ll need:
- Allen wrenches (Hex keys): Usually 4mm, 5mm, or 6mm sizes.
- Torque wrench: For tightening bolts to the correct specification.
- Grease: To prevent seizing and creaking (for metal-on-metal contact).
- New stem: Make sure the length, angle, and diameter match your needs and bike.
- Rag or paper towel: To clean parts.
- Bike stand (optional): Helps keep your bike stable during the process.
It’s surprising how many beginners forget to check the clamp diameter of their handlebars and steerer tube. There are common sizes, but checking before buying a new stem saves you from a poor fit.

Credit: www.parktool.com
Safety First: Preparing Your Bike
Before you start, make sure your bike is on a stable surface or in a stand. If you’re working at home, remove any accessories from your handlebars, such as lights, bells, or computers. This gives you more space to work and prevents damage.
Next, shift your focus to the front brake and cables. Make sure they have enough slack to allow the bars to move freely. If cables are tight, replacing the stem might be more difficult, and you may need to loosen them.
Double-check that your tools fit the bolts snugly. Rounded bolts are a common headache and can make a simple job much harder.
Removing The Old Stem
Now, let’s get into the main steps. Follow them in order for the best results.
1. Remove The Top Cap
At the very top of the stem, you’ll see a small bolt holding the top cap in place. Use your Allen wrench to loosen and remove this bolt and cap. Set them aside safely.
2. Loosen The Stem Bolts
On the side of the stem (where it clamps to the steerer tube), you’ll find two or more bolts. Loosen these evenly, a little at a time, until the stem can slide up and off the steerer tube. Do not remove them completely yet—just enough so the stem can move.
3. Take Off The Handlebars
Most threadless stems have a faceplate on the front, secured with two or four bolts. Loosen and remove these bolts. Carefully lift the handlebars away from the stem. Let them rest gently on the frame or support them with a strap—avoid letting them hang from the cables.
4. Slide The Old Stem Off
Once the faceplate and steerer bolts are loose, you can slide the stem off the steerer tube. Some stems might need a gentle twist if they’re stuck, but avoid using force.
Common Problems When Removing A Stem
- Stuck stem: Dirt or corrosion can freeze a stem in place, especially on older bikes. A little penetrating oil and gentle twisting can help.
- Misplaced spacers: Many bikes have thin rings called spacers above and below the stem. Keep track of their order; you’ll need them when installing the new stem.
Choosing The Right Replacement Stem
Picking the right new stem is more than just matching the length. Here are the key factors you should check:
| Feature | Common Options | What to Check |
|---|---|---|
| Steerer Tube Diameter | 1 1/8″ (28.6mm), 1″ (25.4mm) | Must match your fork |
| Handlebar Clamp Diameter | 31.8mm (most common), 25.4mm | Must match your handlebars |
| Length | 60mm–130mm | Affects reach and handling |
| Angle | 6°, 8°, 17° | Changes bar height/position |
| Material | Aluminum, Carbon | Weight, stiffness, price |
Don’t just copy what you had before. If you’re uncomfortable, measure your current stem and consider a different length or angle. A 10mm change can make a big difference in how your bike feels.
Installing The New Stem
Now you’re ready to put everything back together. Take your time here—accuracy matters for both safety and comfort.
1. Clean The Steerer Tube And Parts
Wipe away any dirt, old grease, or grit from the steerer tube and spacers. If the surfaces are clean, the new stem will fit better and last longer.
2. Slide On The Spacers And New Stem
Replace the spacers in their original order. Slide the new stem onto the steerer tube. If you’re changing the number of spacers above or below the stem, make sure the top of the steerer tube sits 2–3mm below the top of the stem or top spacer.
This gap is important for proper compression.
3. Attach The Handlebars
Place your handlebars into the stem’s clamp area. Attach the faceplate and thread in the bolts by hand. Tighten them gradually and in a cross-pattern (for four-bolt designs) so the gap between the faceplate and stem is even on both sides.
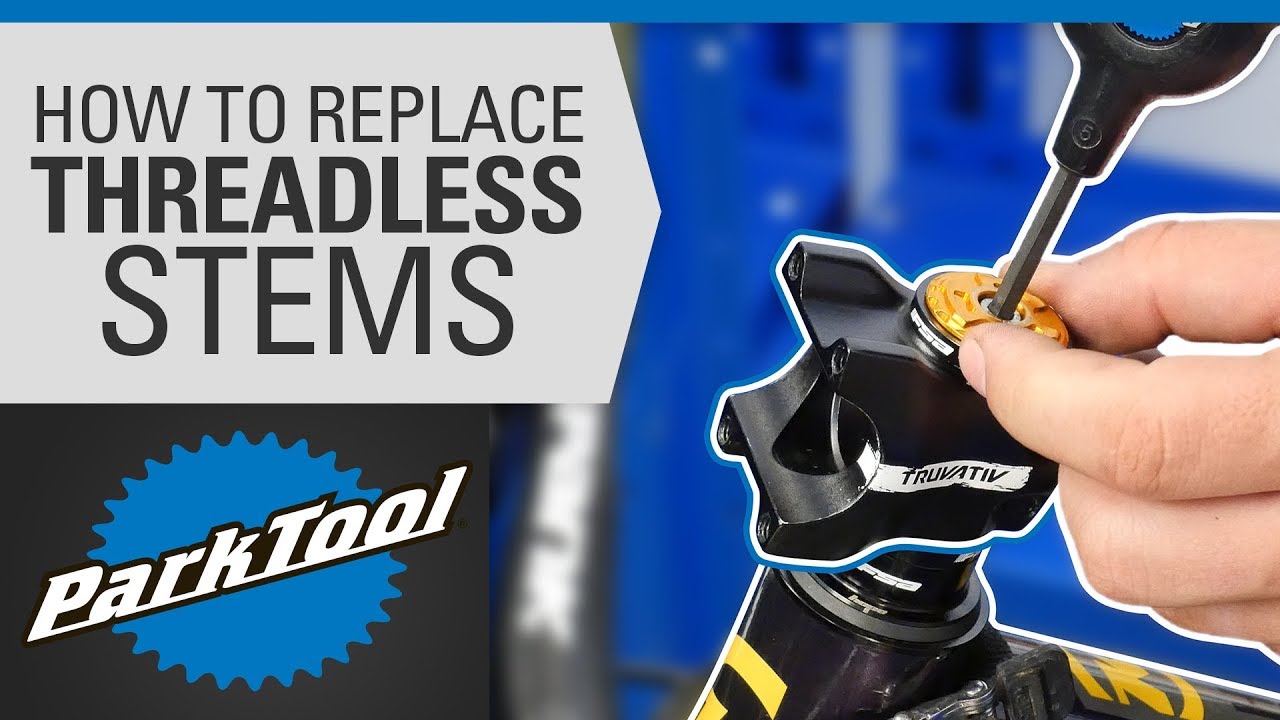
4. Install The Top Cap And Preload The Headset
Place the top cap back on and thread in the bolt until it’s snug, but not too tight. The top cap’s job is to remove any play from the headset, not to hold the stem in place.
5. Align The Stem And Tighten The Steerer Bolts
Line up the stem with your front wheel. Stand over the bike and look down to check alignment. Once you’re happy, tighten the side bolts using a torque wrench to the manufacturer’s specification (usually 5–6Nm for most stems).
6. Check Your Work
Test the headset by holding the front brake and rocking the bike back and forth. If you feel any knocking or play, the top cap may need a slight adjustment. If it’s smooth, you’re ready to finish tightening the faceplate bolts (again, to the correct torque).
Installing A Quill Stem (older Bikes)
If your bike has a quill stem, the process is a bit different:
- Loosen the single bolt at the top of the stem.
- Twist and pull the stem upward to remove it.
- Insert the new stem to the correct height (look for the minimum insertion mark).
- Tighten the top bolt and check alignment.
Credit: www.youtube.com
Fine-tuning Your Handlebar Position
After installing the new stem, you can make small adjustments to improve comfort and control.
- Bar angle: Rotate the bars slightly before fully tightening the faceplate. Most people prefer the brake hoods to be level with the ground.
- Reach and drop: Try short rides with the new setup. If you feel stretched or cramped, you might want to experiment with different stem lengths or angles.
- Spacer position: Moving spacers above or below the stem raises or lowers your bars. More spacers under the stem = higher bars, which is more comfortable for long rides.
Here’s a simple comparison of how stem length and angle affect your ride:
| Stem Setup | Effect on Ride | Best For |
|---|---|---|
| Long, Low-Angle Stem | Stretched position, fast steering | Racers, aggressive riders |
| Short, High-Angle Stem | Upright position, stable handling | Casual riders, commuters |
Mistakes To Avoid When Replacing A Stem
Many first-timers make small errors that can affect safety or comfort. Here are some common mistakes and how to avoid them:
- Ignoring torque specs: Over-tightening bolts can damage your stem or handlebars, especially if they’re carbon. Use a torque wrench.
- Mismatching diameters: Make sure your new stem fits both your steerer tube and handlebars.
- Forgetting about spacers: The headset will not work properly if the spacers are not in the right position.
- Letting cables get too tight: If the stem is longer or higher, your brake and shift cables may become too short. Always check cable movement before your first ride.
- Not checking headset preload: If the top cap isn’t snug enough, your steering will feel loose and unsafe.
Testing And Adjusting After Installation
Before heading out for a ride, check everything carefully:
- Hold the front wheel between your knees and try to twist the bars. If they move, the steerer bolts need more tightening.
- Squeeze the brakes and push forward. If you feel a “clunk,” the headset may be loose.
- Ride around slowly and try turning left and right. The steering should feel smooth, not stiff or rough.
After a few rides, re-check all bolts, as things can settle with use. It’s smart to get in the habit of checking your stem bolts every few weeks, especially after a big ride or crash.
When To Seek Professional Help
If you’re unsure about any step, or if you notice:
- Cracks in your stem, bars, or fork
- A stem that won’t tighten securely
- Any play or looseness that doesn’t go away
It’s best to visit a trusted local bike shop. Mechanics have the experience and tools to spot hidden problems and ensure your bike is safe. Remember, the stem controls your steering—never take chances with your safety.
For advanced guidance and torque specifications, you can visit the official Sheldon Brown Bike Info page.

Credit: www.youtube.com
Frequently Asked Questions
How Do I Know What Stem Length To Choose?
The right stem length depends on your riding style, body proportions, and comfort. If you feel stretched or cramped, measure your current stem and try one that’s 10–20mm longer or shorter. A bike shop can help with a proper fit.
Can I Use Any Stem On My Bike?
No. Stems must match your steerer tube and handlebar clamp diameter. Always check these measurements before buying. Using the wrong size can be unsafe or damage your bike.
Do I Need A Torque Wrench?
Yes, especially if your bike has carbon parts. A torque wrench ensures you don’t over-tighten bolts, which could cause cracks or slips. Most stems require 5–6Nm of torque for safety.
What Is The Difference Between A Threadless And A Quill Stem?
A threadless stem clamps around the outside of the steerer tube, common on modern bikes. A quill stem slides inside the steerer tube and tightens with a single bolt, found on older bikes. The removal and installation steps are different.
Should I Add Grease To The Stem Bolts?
Yes, a small amount of grease on the threads prevents rust and makes future removal easier. Avoid getting grease on carbon parts unless the manufacturer advises it.
Replacing a bike stem is a simple upgrade that can transform your riding comfort and control. With careful steps, the right tools, and attention to detail, you can do the job yourself and enjoy the rewards of a better-fitting bike.
Remember, small changes can make a big difference—don’t hesitate to experiment and find what works best for you. Happy riding!