Taking grips off a bike may sound like a simple task, but if you have ever struggled with old, sticky, or stubborn grips, you know it’s not always easy. Whether you want to replace worn-out grips, upgrade to a new style, or clean your handlebars, knowing how to remove bike grips the right way is essential.
Doing this correctly protects your handlebars, saves your grips if you want to reuse them, and avoids unnecessary frustration. This guide will walk you through every step, explain the different types of grips, and share expert tips for an efficient, damage-free process.
Why Remove Bike Grips?
Bike grips do more than provide a spot for your hands—they absorb vibration, prevent hand fatigue, and give you control. Over time, grips can become worn, torn, or slippery from sweat and dirt. Sometimes, you might want to try a new type of grip for better comfort or performance.
Removing grips is also necessary if you’re changing your handlebars or servicing your brakes and shifters. Knowing how to take grips off a bike safely means you avoid damaging your bars or controls and can reuse the grips if desired.
Understanding Different Types Of Bike Grips
Not all bike grips are the same, and the removal method often depends on the type. Here are the most common kinds:
| Grip Type | Attachment Method | Removal Difficulty |
|---|---|---|
| Slip-on (Push-on) | Friction | Medium |
| Lock-on | Clamps/Screws | Easy |
| Foam | Friction/Glue (sometimes) | Medium-Hard |
| Integrated | Part of Bar/Control | Difficult |
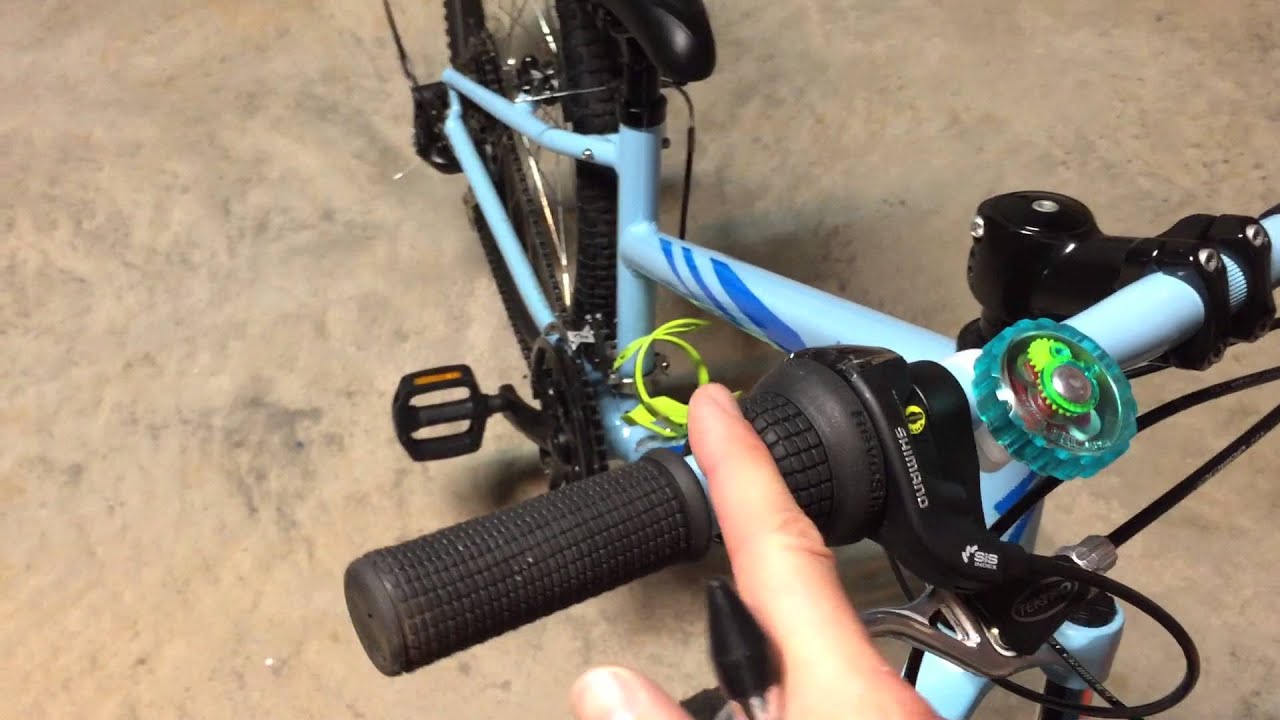
- Slip-on grips are common on mountain bikes and older bikes. They slide over the handlebar and are held by friction.
- Lock-on grips use clamps or small screws at the ends to secure them. They are popular because they are easy to remove and install.
- Foam grips are lightweight and comfortable but can be trickier to remove, especially if they are glued.
- Integrated grips are part of the shifter or handlebar, found on some city or kids’ bikes. Removing these usually means replacing the whole assembly.
Knowing your grip type will help you choose the right removal method and tools.
Credit: www.youtube.com
Tools And Supplies You’ll Need
The exact tools depend on your grip type, but here are the most common:
- Flathead screwdriver
- Allen wrenches (hex keys) for lock-on grips
- Rubbing alcohol or water for lubrication
- Compressed air canister (optional but very helpful)
- Utility knife or box cutter (if you plan to cut old grips off)
- Cloth or rag for cleaning
- Soap water spray bottle (alternative to alcohol)
- Plastic zip ties (helpful trick for some stubborn grips)
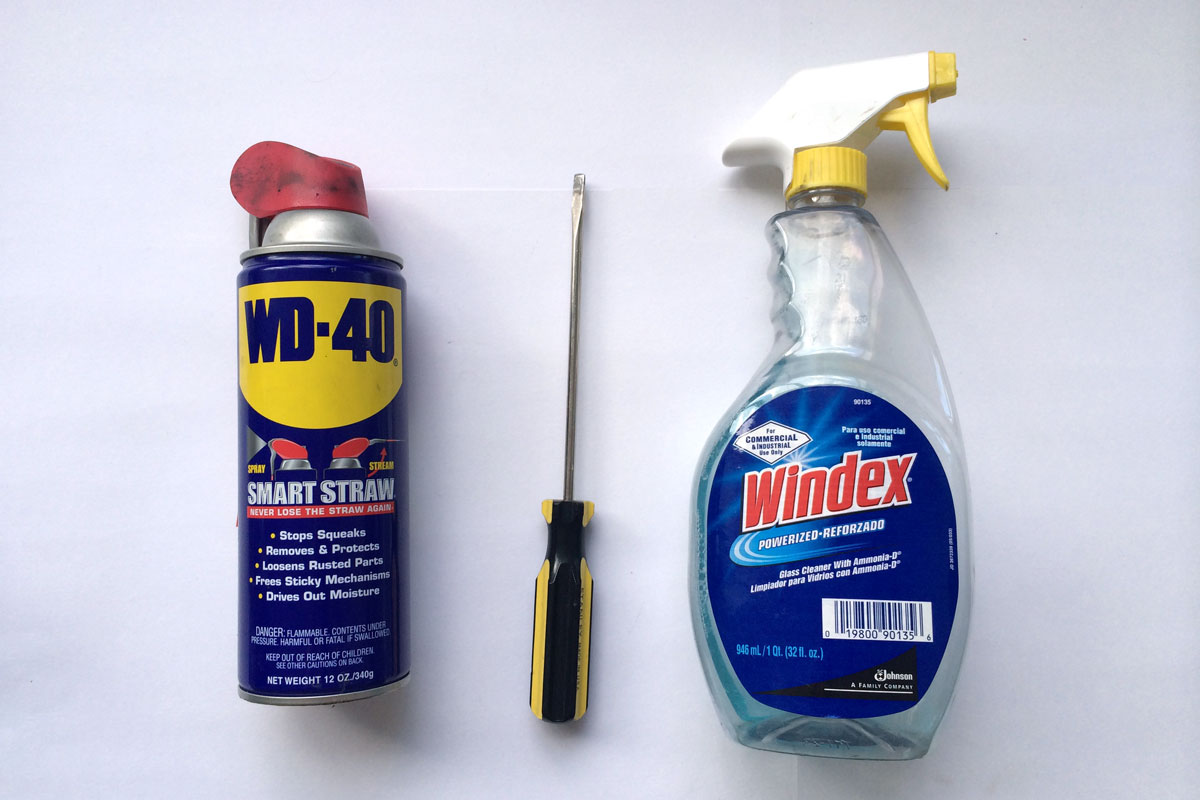
Never use oil-based lubricants like WD-40—they can damage rubber and leave the bar slippery.
Steps To Remove Slip-on (push-on) Grips
Slip-on grips are the most common and can be stubborn, especially if they are old. Here’s how to take them off safely:
1. Loosen The Grip
Insert a thin, flat screwdriver between the grip and the handlebar. Wiggle it gently to avoid damaging the bar or tearing the grip. Move the screwdriver around the grip to break the seal.
2. Add Lubrication
Squirt a little rubbing alcohol or soapy water into the gap you made with the screwdriver. This helps break down any sticky residue and makes the grip slide more easily. Rotate the grip as you add the liquid, so it spreads inside.
3. Twist And Pull
Grip the end firmly and twist back and forth while pulling outward. If the grip is stuck, add a bit more alcohol and repeat. Be patient—forcing it can rip the grip or hurt your hand.
4. Use Compressed Air (optional)
If you have a compressed air canister, insert the nozzle under the grip and give it a quick burst. The air lifts the grip away from the bar, making it almost slide off by itself.
5. Remove Stubborn Grips
If the grip is old, sticky, or torn, you may need to cut it. Use a sharp utility knife and carefully slice along the length of the grip. Always cut away from your body and fingers.
Expert Tip: If you want to reuse the grip, avoid metal tools. A plastic tire lever or even a zip tie can help break the grip’s seal without scratching the handlebar.
Steps To Remove Lock-on Grips
Lock-on grips are designed for easy removal and installation. They have small screws or clamps at one or both ends.
1. Locate The Locking Mechanism
Look for small hex screws at the end or middle of the grip. These usually require a 2mm or 2.5mm Allen wrench.
2. Loosen The Screws
Turn the screws counterclockwise until they are loose. You do not have to remove them completely—just loosen enough for the clamp to release.
3. Slide The Grip Off
Once unclamped, the grip should slide off easily. If it sticks, gently twist it as you pull.
Non-Obvious Insight: Many beginners over-tighten lock-on grips when reinstalling. Overtightening can strip the bolt or crush carbon handlebars. Always follow the manufacturer’s torque recommendation.
Steps For Removing Foam Or Glued Grips
Foam grips are lightweight and comfortable but can be tricky to remove, especially if glue was used during installation.
1. Try Twisting First
Sometimes, foam grips loosen with a strong twist. Use gloves for a better grip if your hands slip.
2. Use Rubbing Alcohol
Insert a thin screwdriver or zip tie under the foam. Add rubbing alcohol to dissolve glue and reduce friction. Work the tool around the bar to distribute the alcohol.
3. Carefully Cut As A Last Resort
If the foam tears or will not budge, carefully slice along the grip with a utility knife. Always cut away from you to avoid injury.
Practical Tip: If you plan to reinstall foam grips, avoid metal tools. A plastic straw can sometimes break the seal without damaging the soft foam.
Removing Integrated Grips
Integrated grips are less common. They are usually found on kids’ bikes or some city bikes and are part of the brake or shifter assembly.
- Check the bike’s manual for removal instructions.
- Usually, you must remove the shifter or brake assembly entirely.
- Sometimes, you need to replace the entire unit, not just the grip.
This process can be complex, and sometimes it is more cost-effective to change the bar or control rather than the grip alone.
Cleaning And Preparing The Handlebars
After removing the grips, it’s a good idea to clean the handlebars. Dirt, old glue, and sweat can leave residue that affects new grip installation.
- Wipe the bar with a rag and rubbing alcohol.
- If there is glue, scrape it gently with a plastic tool.
- Dry the bar completely before installing new grips.
If you plan to reuse the old grips, wash them with warm, soapy water and let them dry fully.

Credit: funnmtb.com
Comparing Grip Removal Methods
Each removal method has its pros and cons. Here’s how they compare:
| Method | Grip Condition | Reuse Possible? | Effort Required |
|---|---|---|---|
| Screwdriver & Alcohol | Any | Yes | Medium |
| Compressed Air | Good to Excellent | Yes | Low |
| Utility Knife | Old/Damaged | No | Low |
| Lock-on Screw | Any | Yes | Very Low |
Non-Obvious Insight: Using compressed air is one of the safest ways to remove grips without stretching or tearing them, but most beginners do not have access to a compressor. Many bike shops will do this for free or a small fee.
Mistakes To Avoid
- Using oil-based lubricants. These can make grips impossible to reinstall and can damage rubber.
- Cutting towards yourself. Always cut away from your body to avoid injury.
- Over-tightening lock-on bolts. This can damage your handlebars or strip the screws.
- Ignoring residue. Leftover glue or dirt can stop new grips from fitting correctly.
- Using metal tools on carbon bars. Metal can scratch or weaken carbon fiber, so always use plastic tools on carbon handlebars.
Credit: www.montaguebikes.com
When To Replace Instead Of Remove
Sometimes, it’s better to replace grips than to remove and reuse them:
- If the grip is torn, sticky, or crumbling.
- If it has lost its shape or cushioning.
- If you notice hand pain or numbness after rides.
Modern grips come in many shapes and materials. Investing in a high-quality pair can improve comfort and bike control.
Safety Considerations
- Always wear gloves when using sharp tools.
- Work in a well-lit area to see what you are doing.
- Dispose of old grips safely, especially if they are torn or contain metal parts.
Installing New Grips
Once the old grips are off, installing new ones is usually straightforward. Here’s a quick overview:
- Clean and dry the handlebar.
- For slip-on grips, use a small amount of rubbing alcohol or grip-specific adhesive.
- For lock-on grips, slide into place and tighten the screws to the recommended torque.
- Wait until any alcohol or water used has dried before riding.
If you need more detailed installation guidance, many reputable sources, such as Park Tool, provide step-by-step tutorials.
Frequently Asked Questions
How Do I Remove Grips Without Damaging Them?
Use a plastic tire lever or compressed air if possible. Insert the lever or air nozzle under the grip to break the seal. Add rubbing alcohol to help loosen the grip, then twist and pull gently. Avoid metal tools to prevent tearing.
Can I Reuse Old Bike Grips?
Yes, if they are in good condition and you remove them carefully. Clean the inside of the grip before reinstalling. If the grip is torn, stretched, or sticky, it’s better to replace it.
What If My Grips Are Glued On?
Add rubbing alcohol or soapy water to dissolve the glue. Use a thin plastic tool to work the liquid under the grip. If the grip does not come off, cutting may be the only option.
Is It Safe To Cut Grips Off Carbon Handlebars?
It’s safe if you use a sharp knife and cut away from the bar and your body. Be careful not to scratch or nick the carbon, as this can weaken the handlebar.
How Tight Should Lock-on Grip Screws Be?
Follow the manufacturer’s instructions, usually around 2–3 Nm of torque. Do not overtighten, especially on carbon bars, as this can cause damage.
Removing bike grips is a straightforward task when you know the right steps and have the proper tools. With patience and the methods described here, you can swap grips without damaging your bike or your hands. Regular grip maintenance can make your rides more comfortable and improve your control.
If you ever feel unsure, visit a local bike shop for help or check trusted online resources. Upgrading your grips might seem small, but it can make a big difference in every ride.